New England interior design and home decor | diy
46
archive,tag,tag-diy-2,tag-46,ajax_leftright,page_not_loaded,,qode-title-hidden,qode_grid_1300,qode-content-sidebar-responsive,qode-theme-ver-13.4,qode-theme-bridge,disabled_footer_top,wpb-js-composer js-comp-ver-7.1,vc_responsive
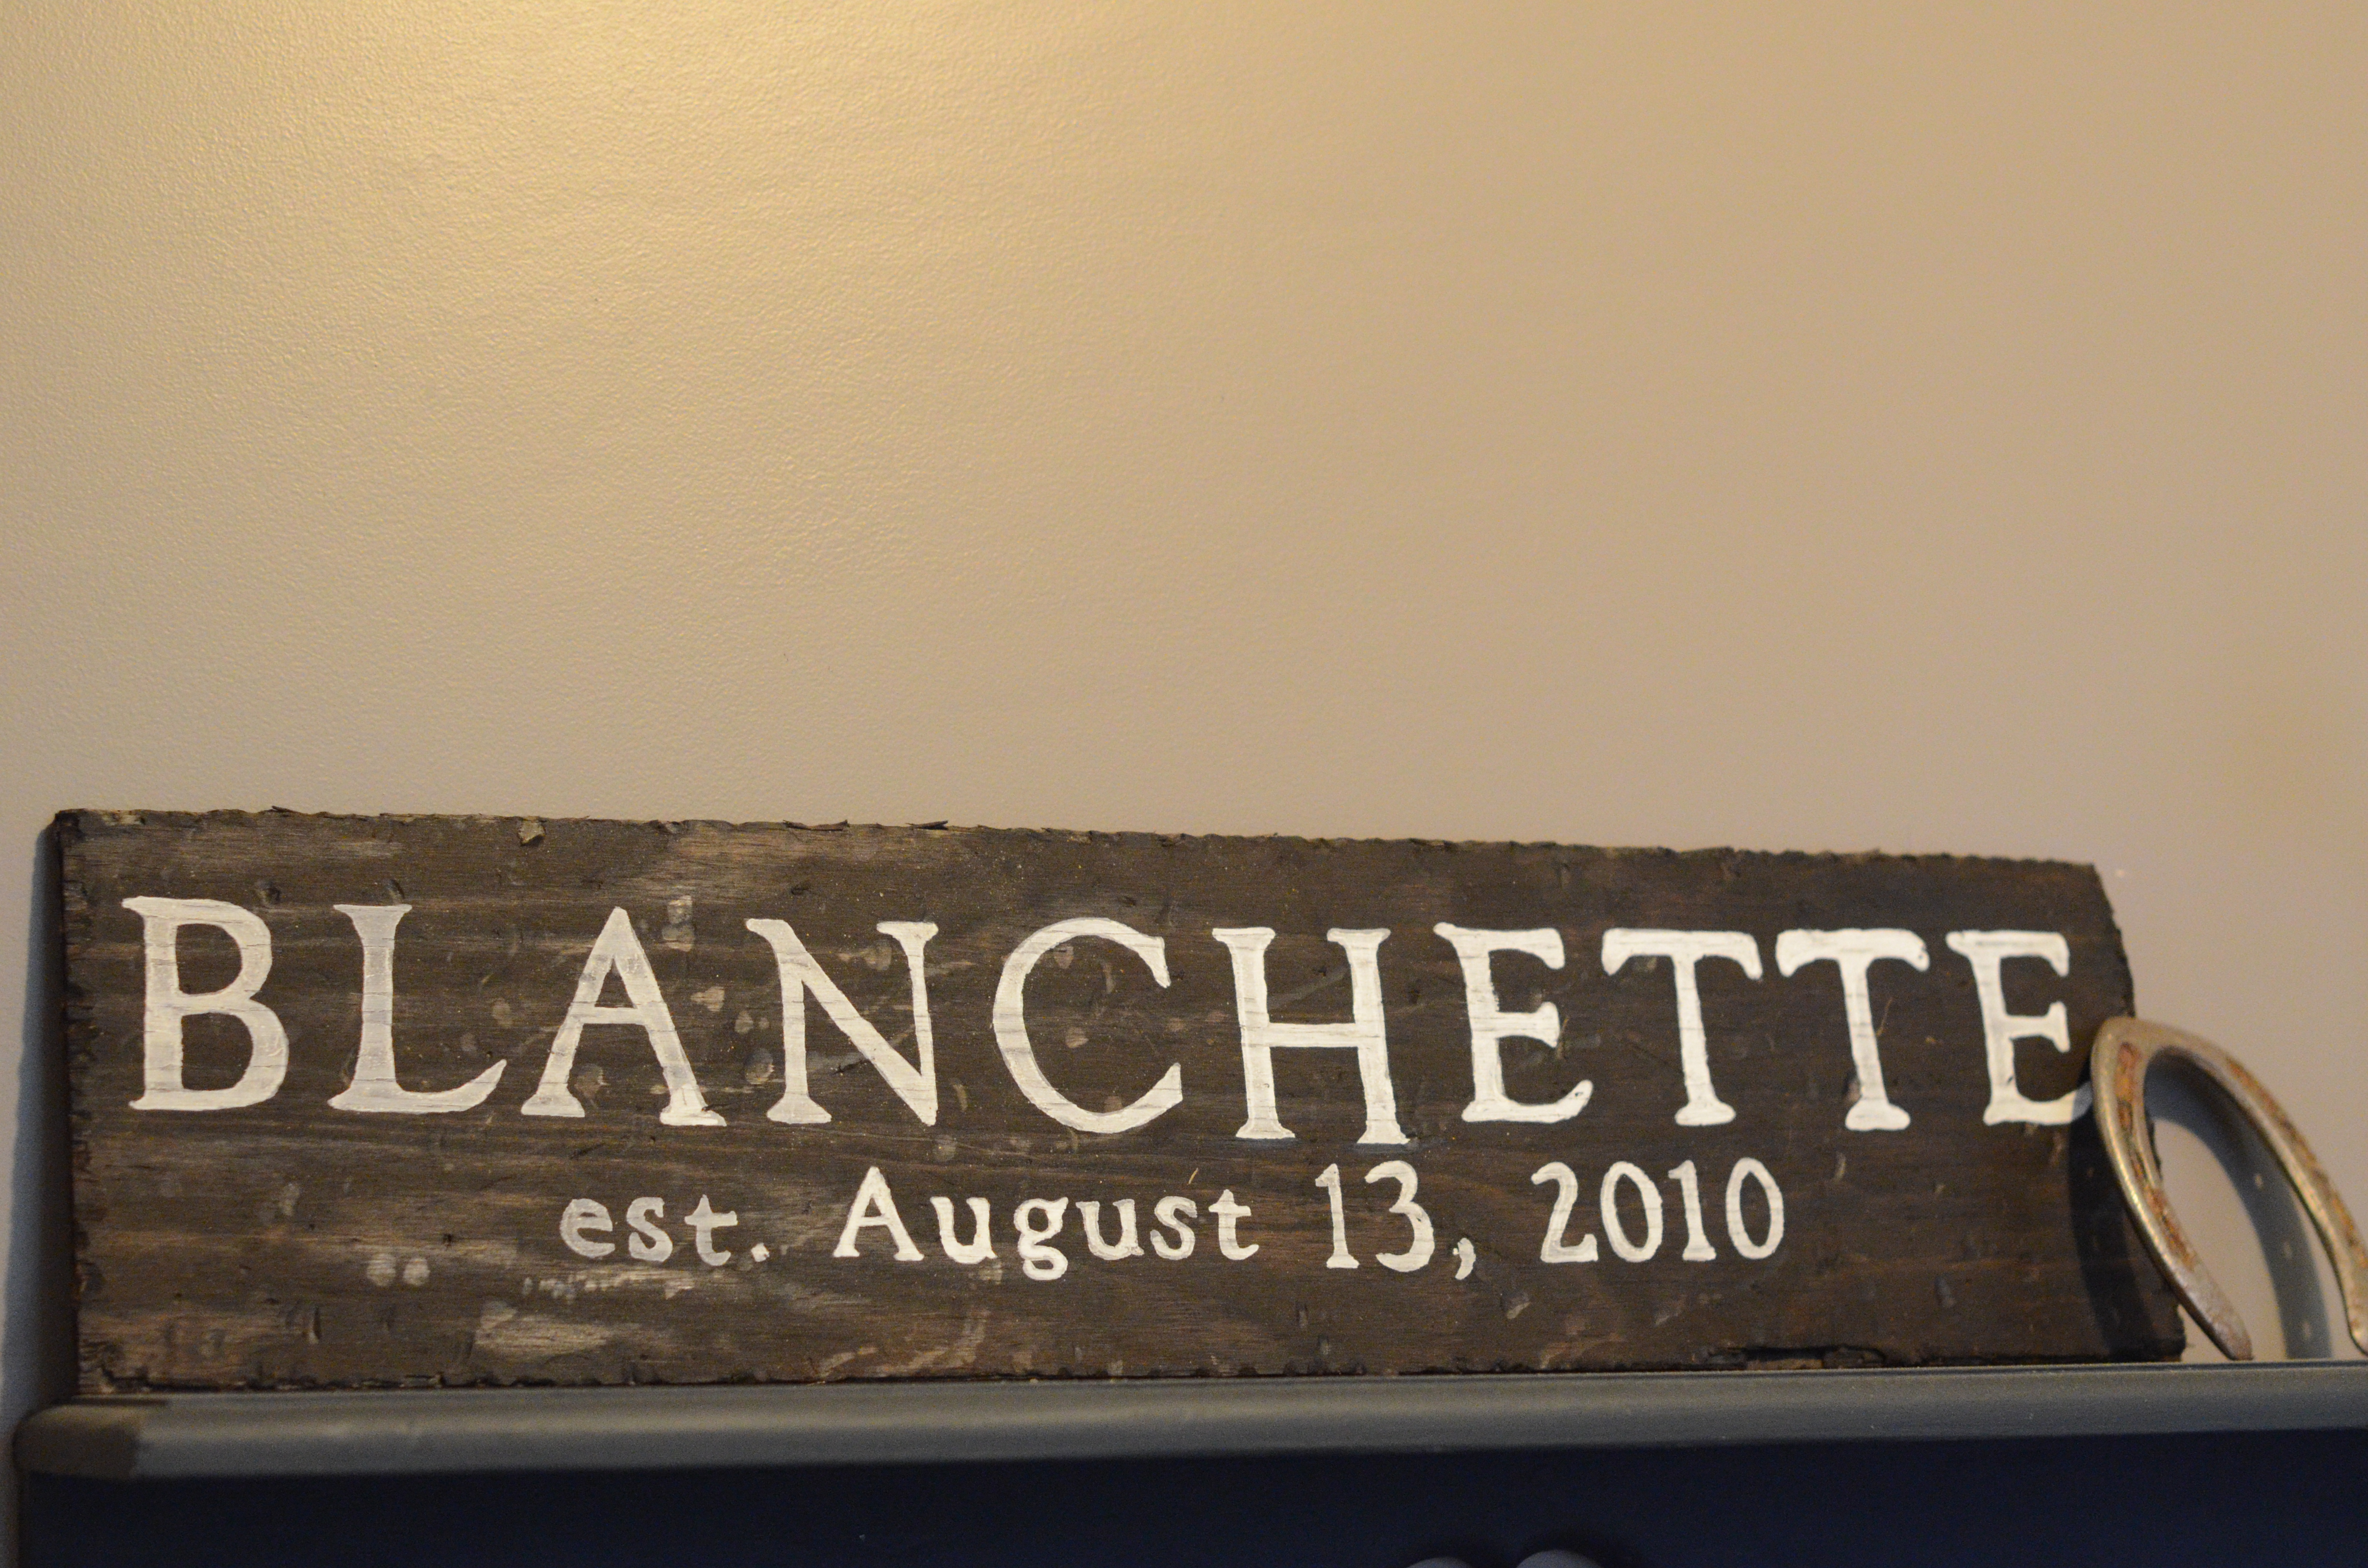
Uncategorized / 25.07.2017

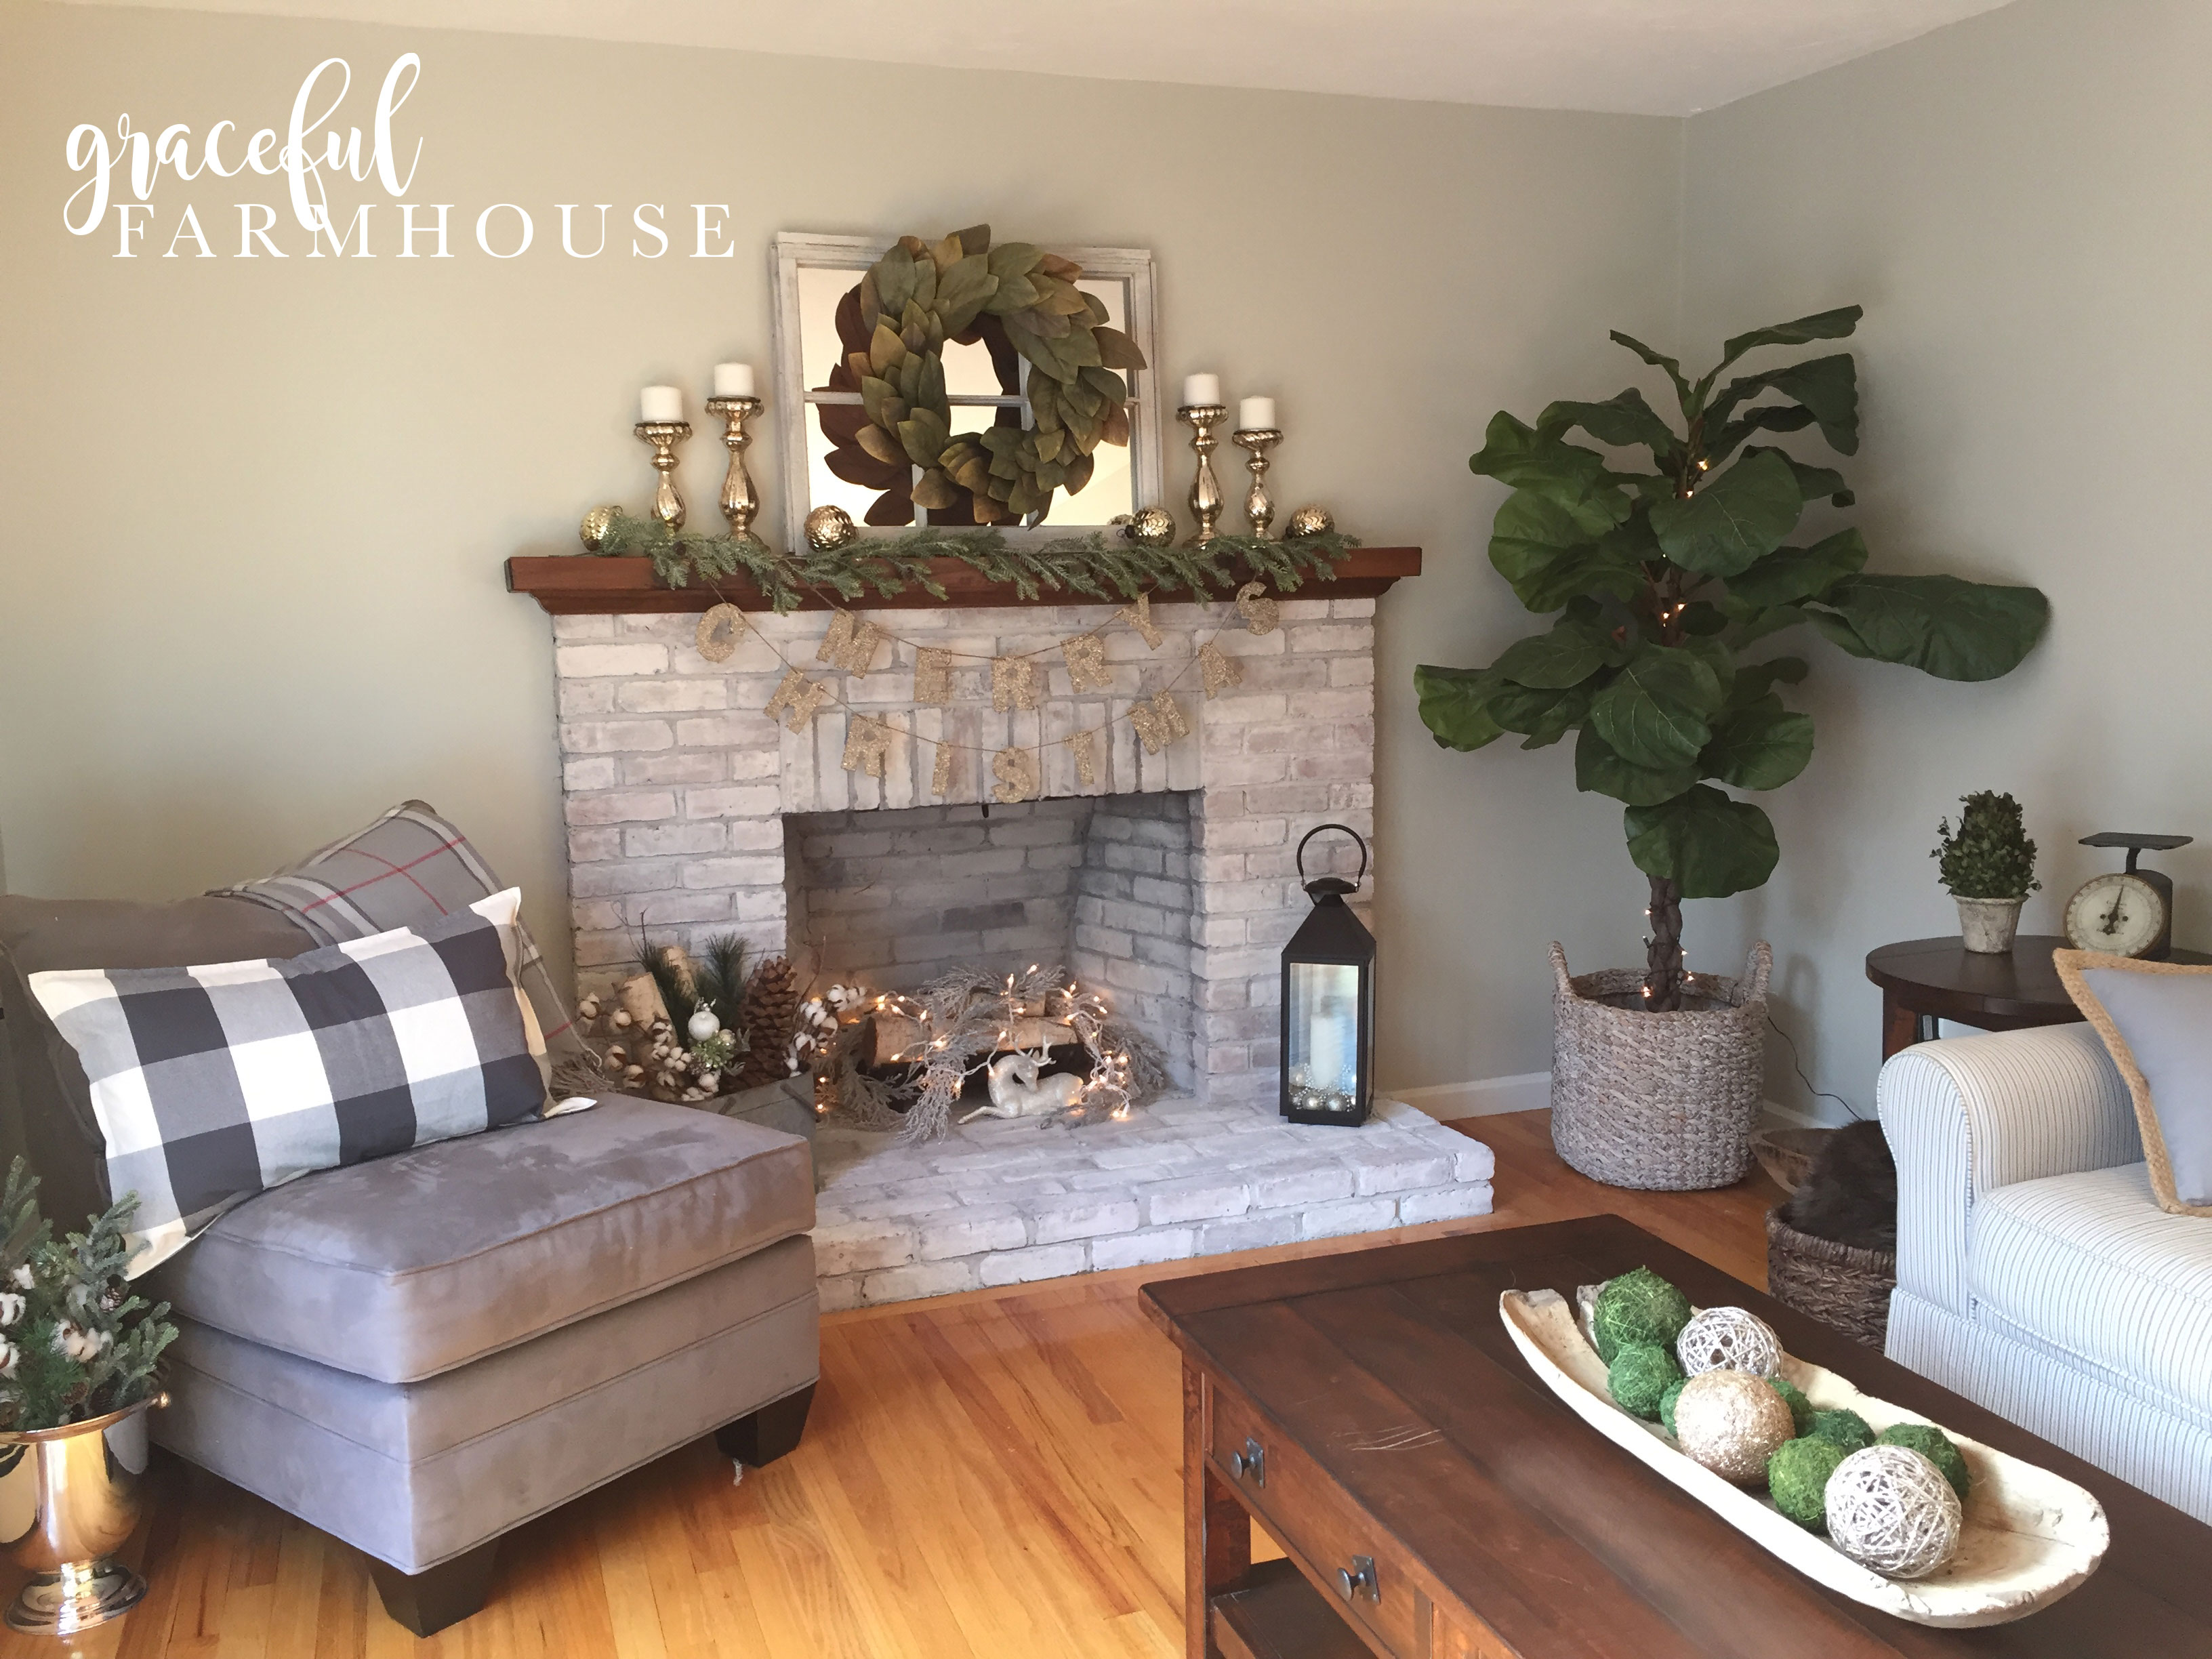
Often times when I get inspired, I just jump right into something and start doing it. Well, that's what happened with our fireplace last Fall. You see, Christmas is my absolute favorite holiday to decorate for and I could not wait to decorate our fireplace since it's the first home we've owned that has one. I had finished painting the walls in the room a nice grey but I wasn't sure what I wanted to do with the fireplace. Should I keep it the natural brick color? Should...

DIY / 06.06.2017

If you're like me and frequently browse Pinterest, then you know that coffee bars are all the rage. Since we moved into our new house, I've had one area in our kitchen setup as a coffee bar. We have a small counter space and cabinet to the left of our fridge that seemed perfect for all of our coffee supplies. Here's a photo from the day we were moving in to give you an idea of the setup I'm talking about. Here's a better view of the area I'm referring...

DIY / 23.04.2017

One of the first changes I couldn't wait to make on our house was our front door color. My mom always told me that your front door should be the focal point of your home and that it should be warm and inviting. Not only is it a great way to make your home more inviting but it's also one of the easiest and budget-friendly ways to give your home a boost in curb appeal. When we first moved in, our front door was painted a burgundy color which wasn't...

Uncategorized / 18.04.2017

The living room in our house is one that we really don't use all that much right now which is why it's the first before & after I'm sharing because it's free of toys and can be easily photographed. :P However, I've found it to be a perfect spot for reading or blogging at night when the kids are in bed. When we first moved in, the room was painted in a creamy, yellow-y, off-white color and the fire place was in it's original state from when the house...

Uncategorized / 29.03.2016

In part 2 of our home tour, we're moving on up to the second floor. First up, Andrew's bedroom. This was the first room in the house we painted so we could get everything set up for him. Across the hall is another bedroom. This is currently a guest room. Excuse the frog tape container on the floor :) As we go down the hall, we'll come up to the bathroom. Next, is the 3rd bedroom. We are currently using this bedroom while we wait on getting some work done on the...

Uncategorized / 04.05.2015

Recently, my son turned one and I can't even tell you how fast that first year went by. If you have kids, I'm sure you can relate. Even if you don't, it seems time goes by faster as you get older. Anyways, we had a small family birthday party for him. We kept it relatively simple with easy crock pot foods like pulled pork and salads and I wasn't even going to do much decorating or have a theme. Well, the designer in me ended up having way...

DIY, Uncategorized / 13.01.2015

Okay, so I'm certainly not the first blogger to make one of these but I loved the idea and wanted to try making one of my very own. I've pinned a tutorial on my DIY Pinterest board on how to make one, but the one I went off of is over at The Idea Room. I built mine slightly different but used the same measurements. The employees at Home Depot are great about cutting everything for you too! :) Supplies: Two 5.5 inch, 1 x 4 poplar wood boards (ends) Two 31.5...

DIY, Uncategorized / 22.12.2014

I always love receiving Christmas cards from friends and family this time of year. However, I never felt like I had a good, large enough spot on our walls to display them. I started thinking about how I often see them nicely clipped onto twine horizontally which I don't have room for so I though why not just hang it vertically? All you need is a long piece of twine, a tack/nail, and some mini clothes pins that you can find at any craft store (I got mine at...

DIY, Uncategorized / 10.12.2014

I don't know about you but I've been loving this black & white stripes trend. I've seen them a lot lately in fashion, office supplies, Christmas cards, etc. My inspiration for this project was this Kate Spade planner which has the stripes and gold accent text. I found this wreath at a local thrift store and it was already gold but I thought you could easily get the same look by picking up one of those little twig wreaths from Michaels or another craft store and spray painting it gold. Then, all...

DIY, Uncategorized / 03.12.2014

In a previous post, I told you about a window that I purchased from a local antique store. It was the perfect size for a specific area on our wall. Well, I finally finished it and have it hung. Here's how I made it: First, I removed the old hardware and cleaned it up. Then, I touched it up with white paint. I used Benjamin Moore's White Heron because that's what I had on hand and it actually matched well so I was happy. I though about distressing it but the wood...

DIY, Uncategorized / 27.10.2014

I had been looking for a wicker chair that wasn't too expensive for some time when I finally came upon this one while driving. It had missing wicker in a few small spots and the red color didn't quite fit in with my decor but it wasn't anything I couldn't take on. Here's the original wicker chair. Not terrible but certainly not great either. See the missing wicker? It took some brainstorming to figure out what I could use to replace the missing wicker pieces. My first thought was skewers but those...

DIY, Uncategorized / 18.09.2014

When we first were married, we had little to no furniture so we went to A LOT of yard sales. We found a few treasures and a lot of junk. Among the treasures was this butcher block table that we bought for $5. When we bought it, the bottom part of the table was white but it had a lot of stains on it so I quickly painted it. This was one of my first stabs at it where I used Rust-Oleum Oil Rubbed Bronze. This wasn't bad but it was too...

DIY, Uncategorized / 13.08.2014

First, I measured the piece of wood for the sign which was 24 in wide by 6 in high. Then, I laid out the text in a 24x6 document on the computer. I used Adobe Illustrator but you can use any word editor like Microsoft Word. Next, I reversed the text in my document (so it read backwards, I'll explain why below) and then printed it on two 8.5x11 pieces of paper and taped them together since I can't make really large prints with my printer. To distress my sign,...

DIY, Uncategorized / 08.08.2014

I love the look of an old shutter and there's so much you can do with them! My father-in-law picked me up this old, green shutter and I knew there were so many possibilities with it so I got to work. First, I gave it a good sanding! It really needed it because the painted was chipping all over the place. This shutter actually made me a little nervous because I'm sure that nasty, green paint had lead in it so I made sure to use a mask and gloves. Next, I...

Uncategorized / 08.08.2014

We have come a long way since we first bought the place and are continuing to put a lot of work into it. It's true when people say you're always working on and improving your home! Here is the front. We are currently spreading gravel around the yard so please excuse the random piles you may see. Right side view. Left side view. Finally, the back view. Please excuse the absurd amount of different color brown chairs. :) We put this deck in last fall (which I will write about in another post) so...

Uncategorized / 28.07.2014

A lot more progress was made in the next two months! Here are some photos of the progress that was made after the first month of construction.  Here are some photos showing the progress after two months. New windows were put in which are one of my favorite features of this house. They are Harvey windows and the window panes are inside the glass which makes them so easy to clean! They also tilt inside the house so I can easily clean the outside glass.   You can see in this image that...

Uncategorized / 24.07.2014

With any flipping of a house, there's going to be some kind of demo. This house got stripped to the bones! Here is the front view after demo. As you can see, they removed the entire roof of the house so we could put a second level to the home.   Front left angle view...