

01 Feb Wallpaper Bookcase
Hi Friends!
This past month has felt like the longest month ever! January is always rough for me. Christmas is over and winter is in full gear here in New England. I am not a winter person. January started with us all being exposed to “C” (don’t even want to type the word ha!) on Christmas Eve and then the first week back to school, my son contracted the virus. Somehow the rest of us escaped it, but we all had to be home and out of our normal routines. Around that same time I had been feeling the “winter blues” and in a funk I couldn’t get out of. I had all these ideas for projects and things I wanted to do but had no motivation to do them. Now, we’ve been back into our routines and I’ve started tackling some of those projects. First up, wallpapering this bookcase.
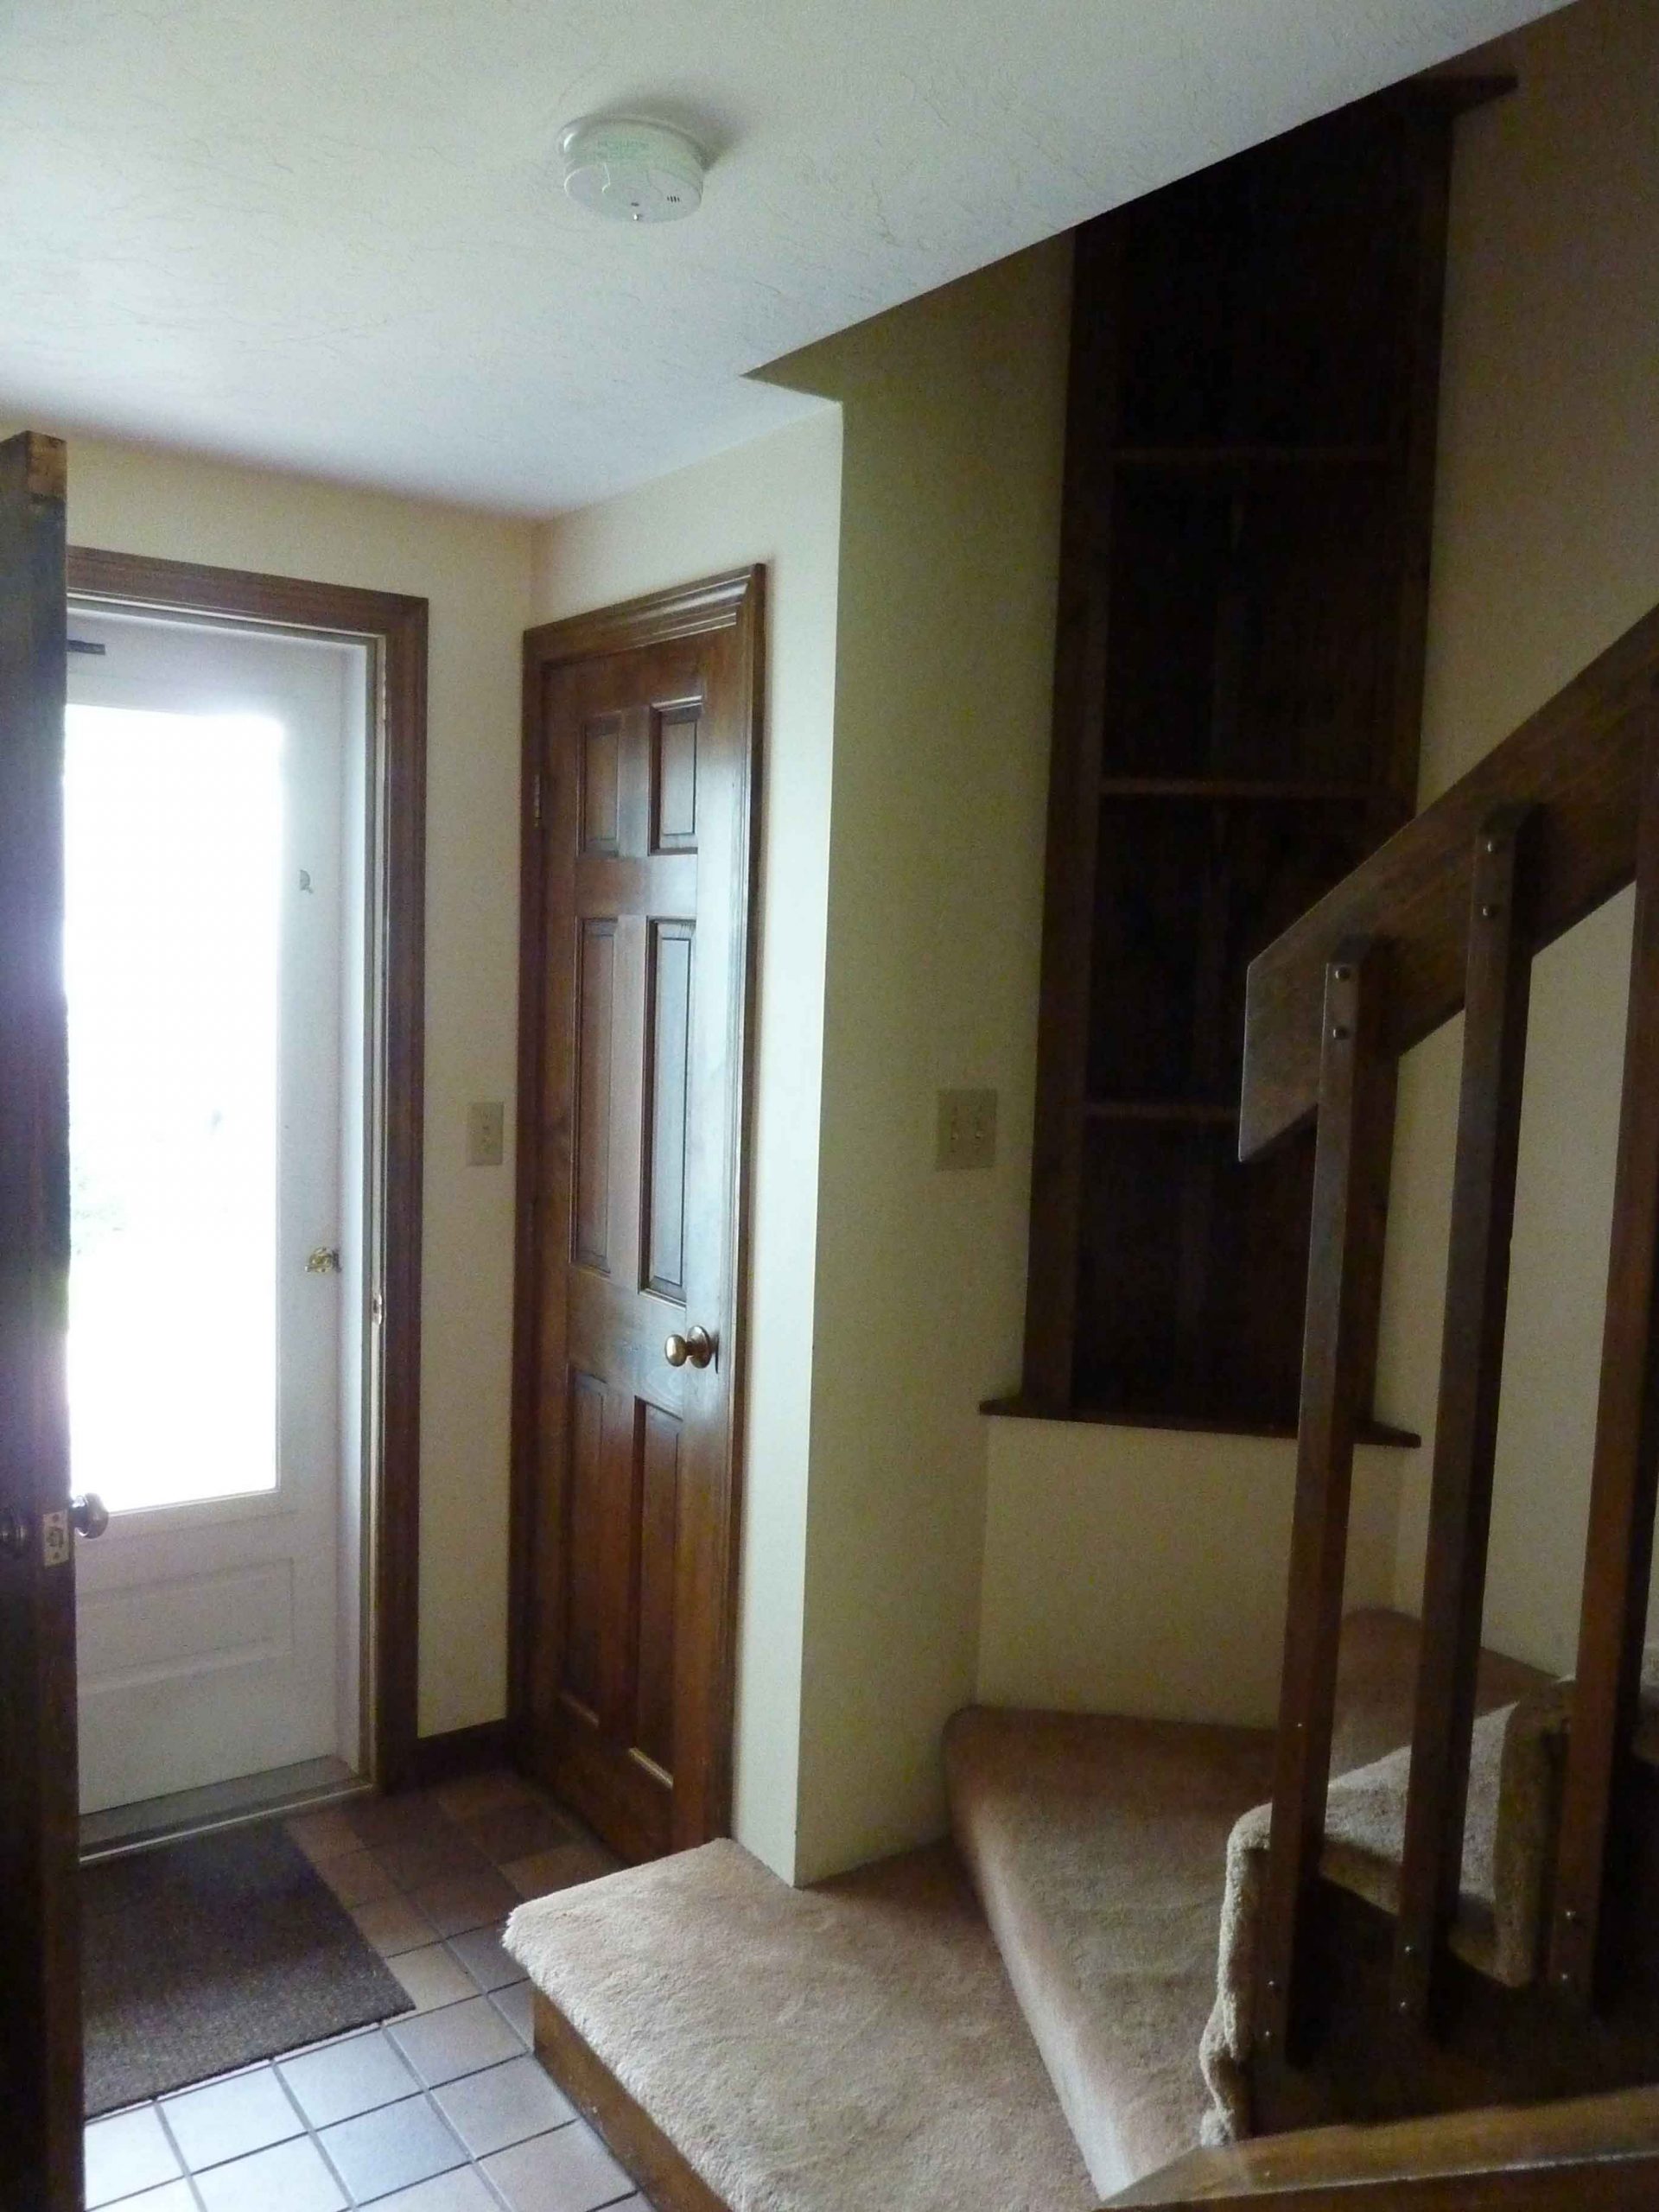
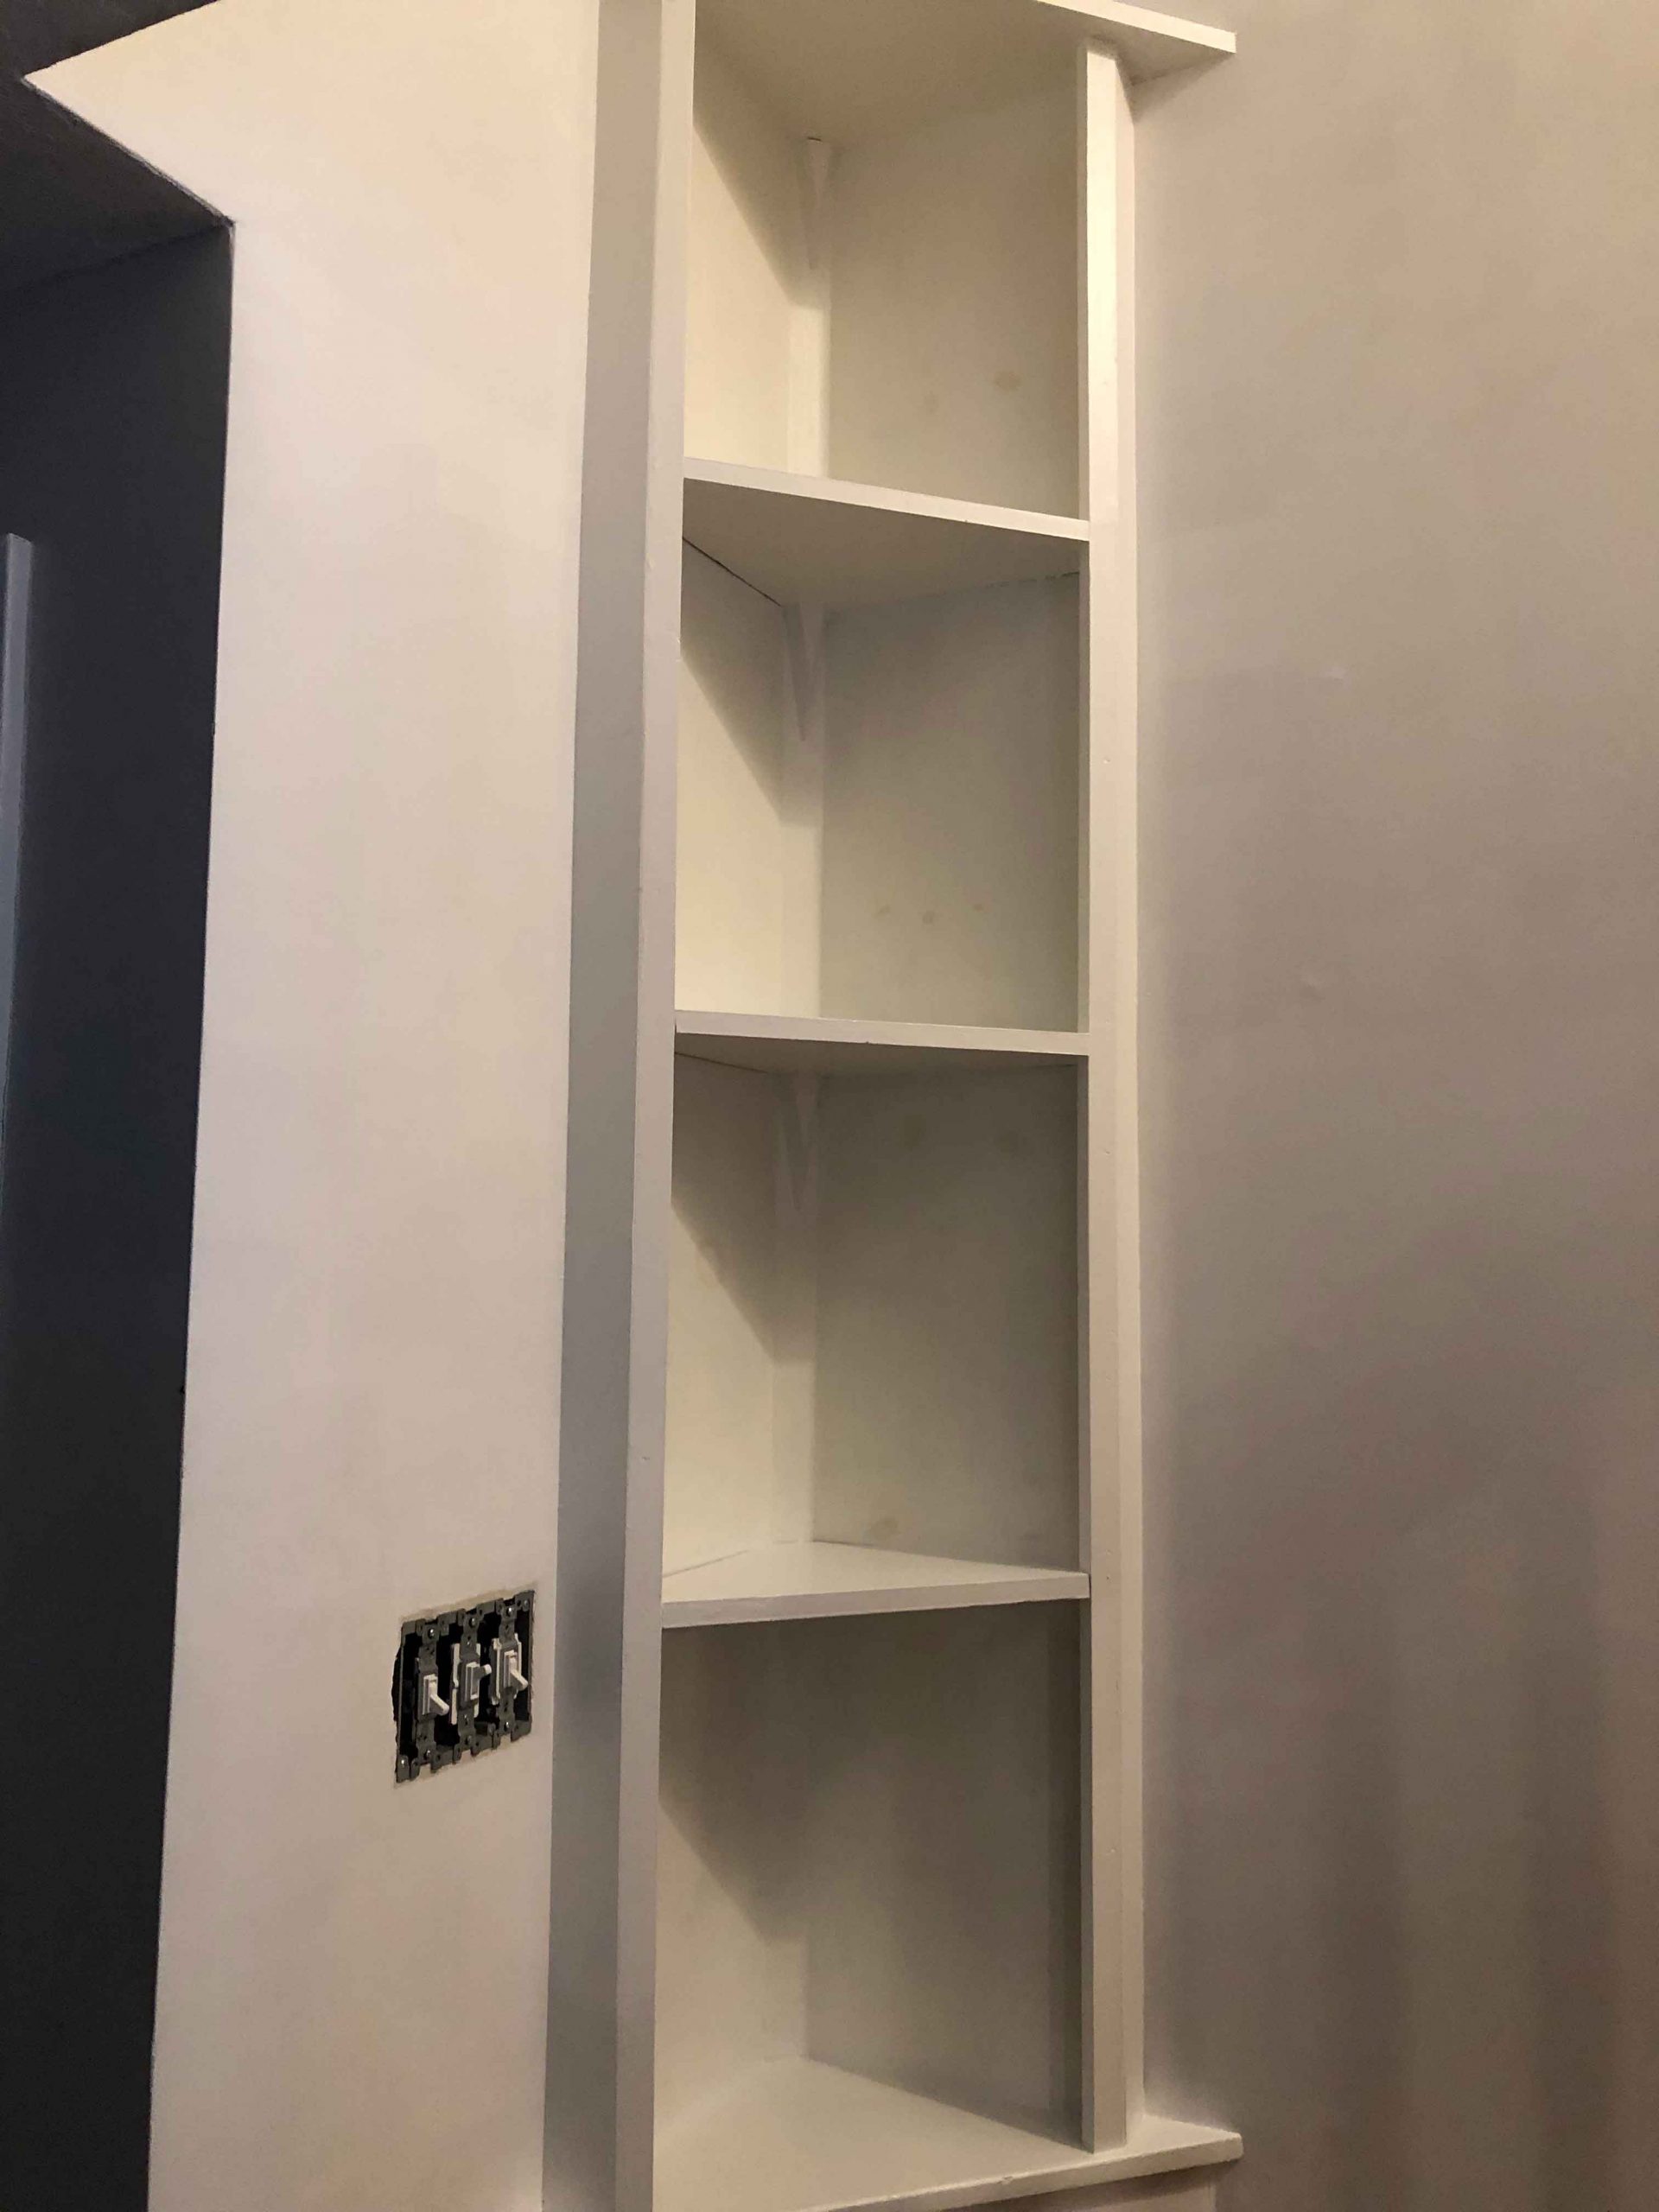
The above photo is from almost 6 years ago when we first bought the house. As you can see, it’s right off the entrance. This is the main entrance we use and so I felt like it needed a little something extra. The photo below is after I painted it white a few years ago which worked well for awhile. However, because the shelves are narrow and on the smaller side, I felt limited to what I could put on them. I kept brainstorming what I could do with them and finally decided to give wallpaper a try.
I found this Serena & Lily wallpaper that I loved and thought this would be a great way to use it.
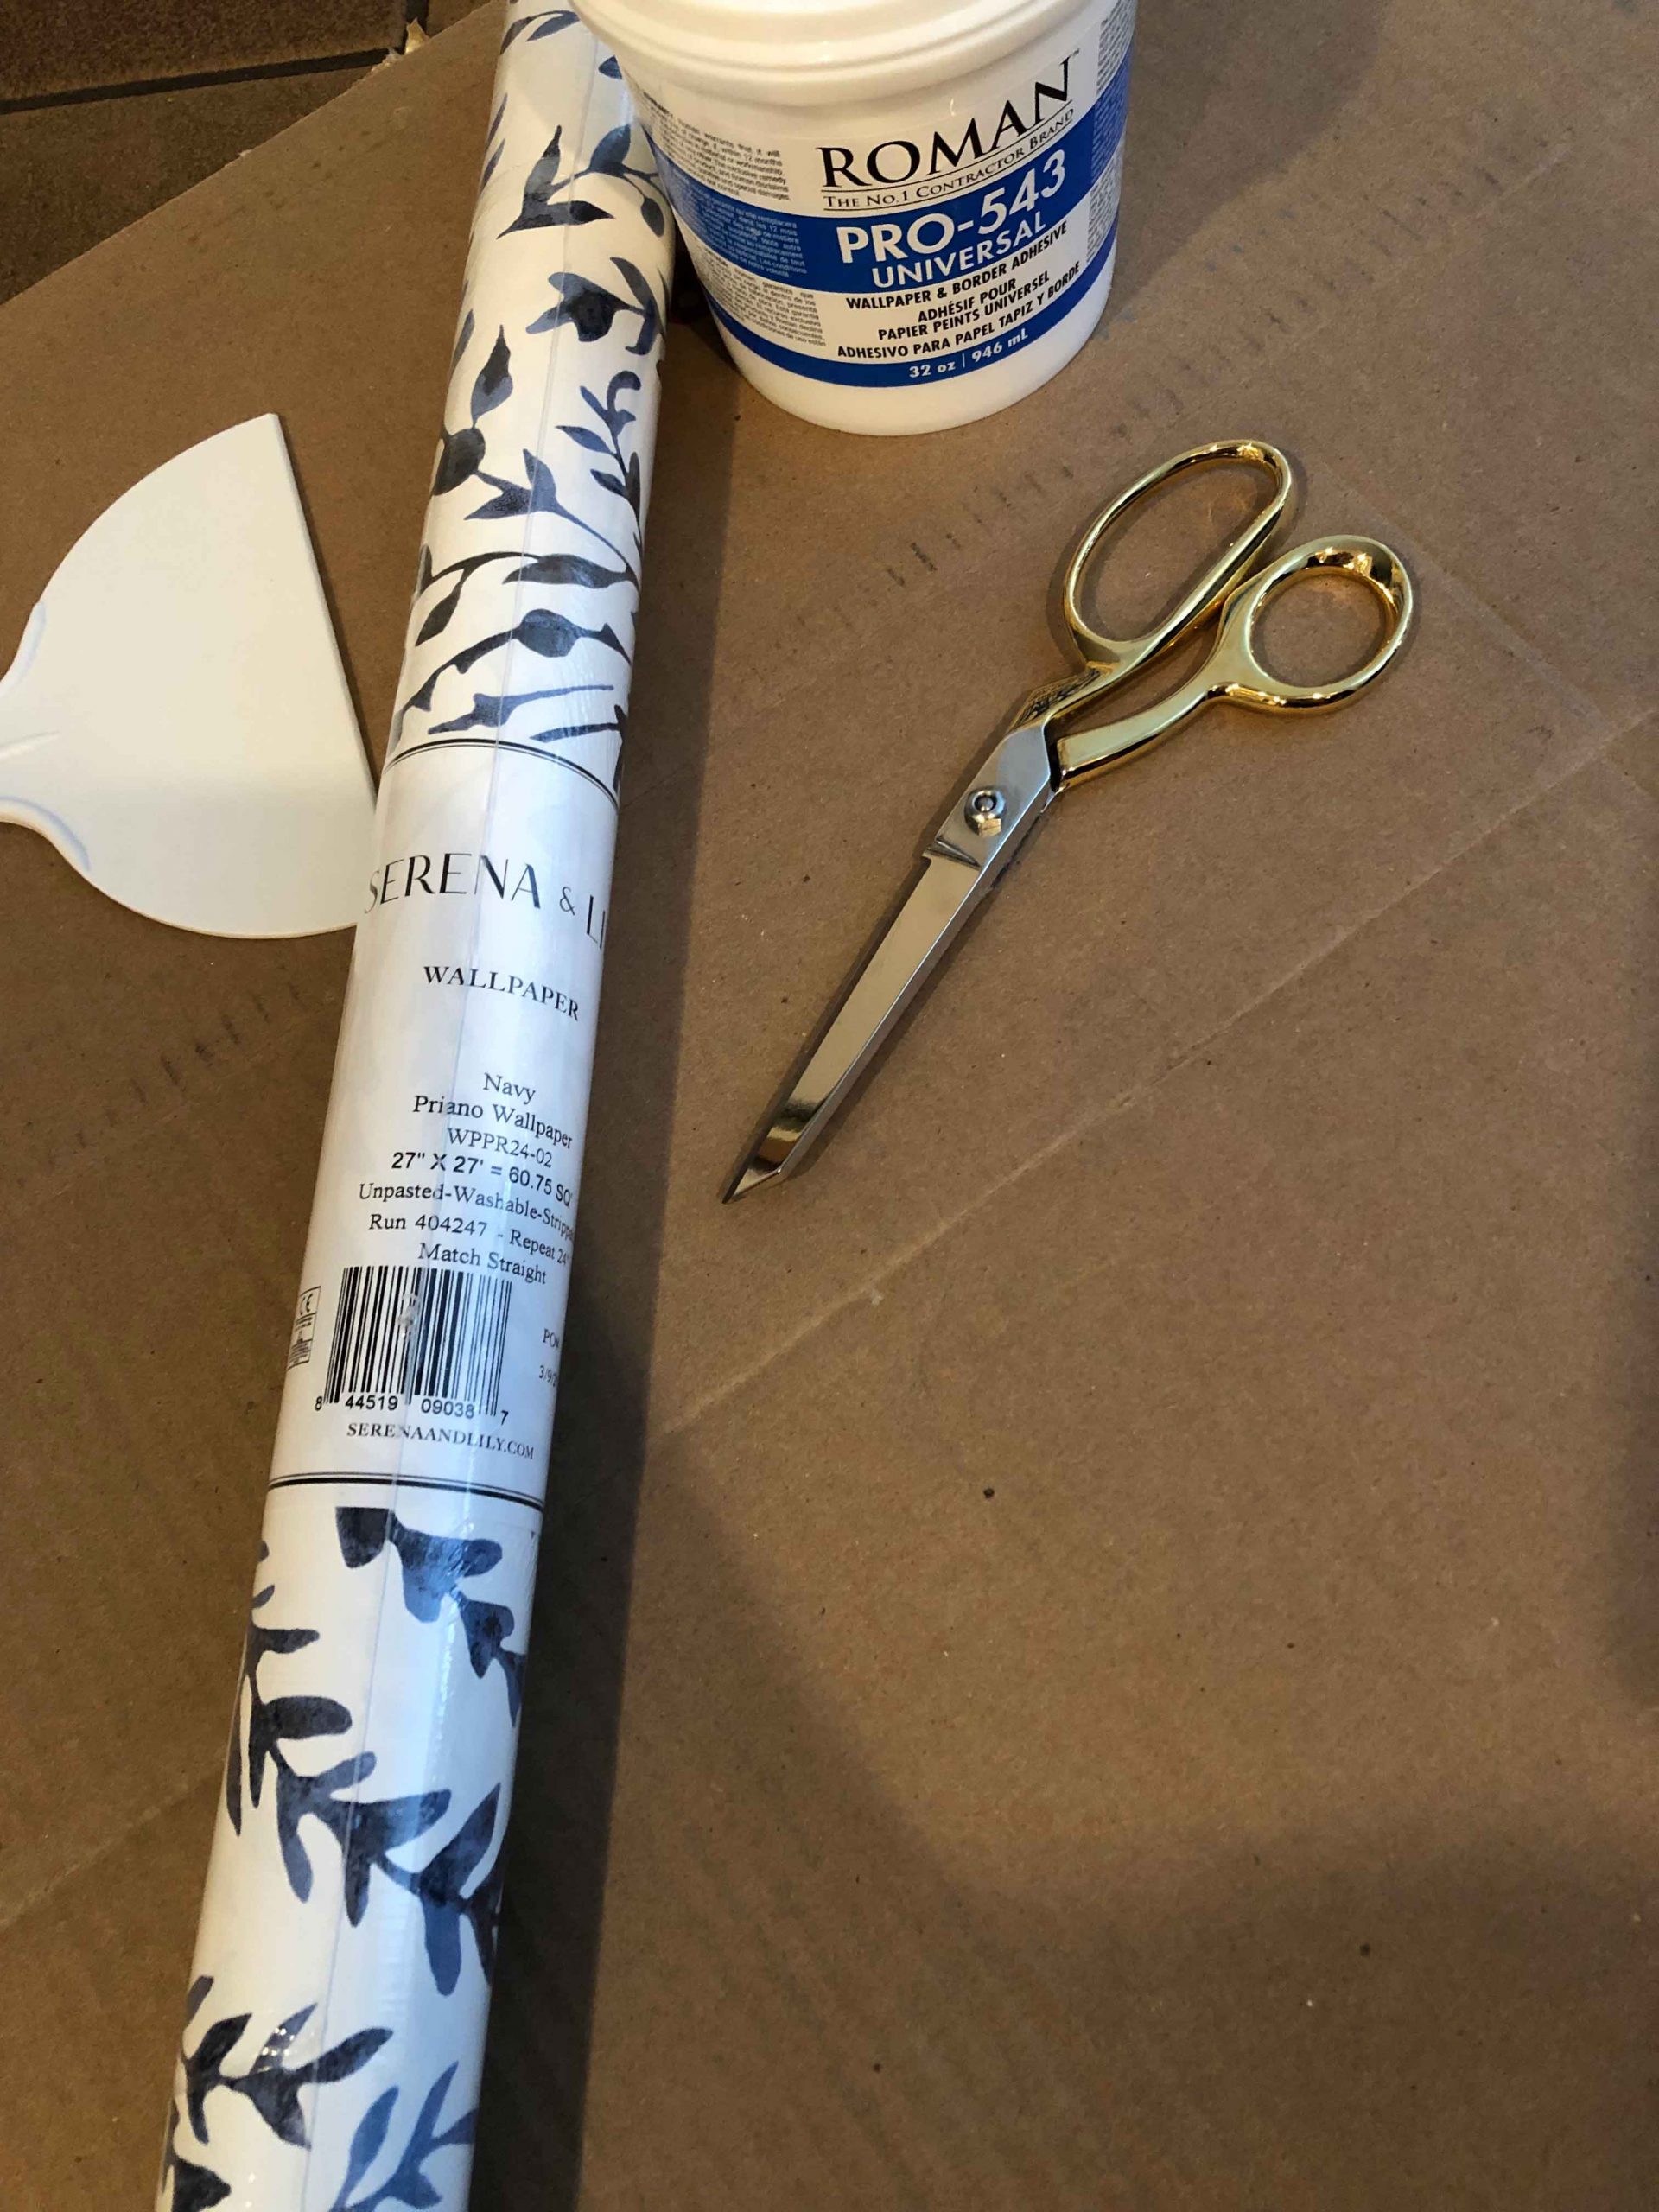
Supplies I used…
- 1 roll of wallpaper (this particular roll does not have any adhesive on it)
- 1 qt of wallpaper adhesive/glue
- 1 pair sharp scissors
- 1 disposable chip brush
- plastic scrapers
- spray bottle and/or wet sponge
- xacto knife (with a brand new blade, very important that it’s very sharp)
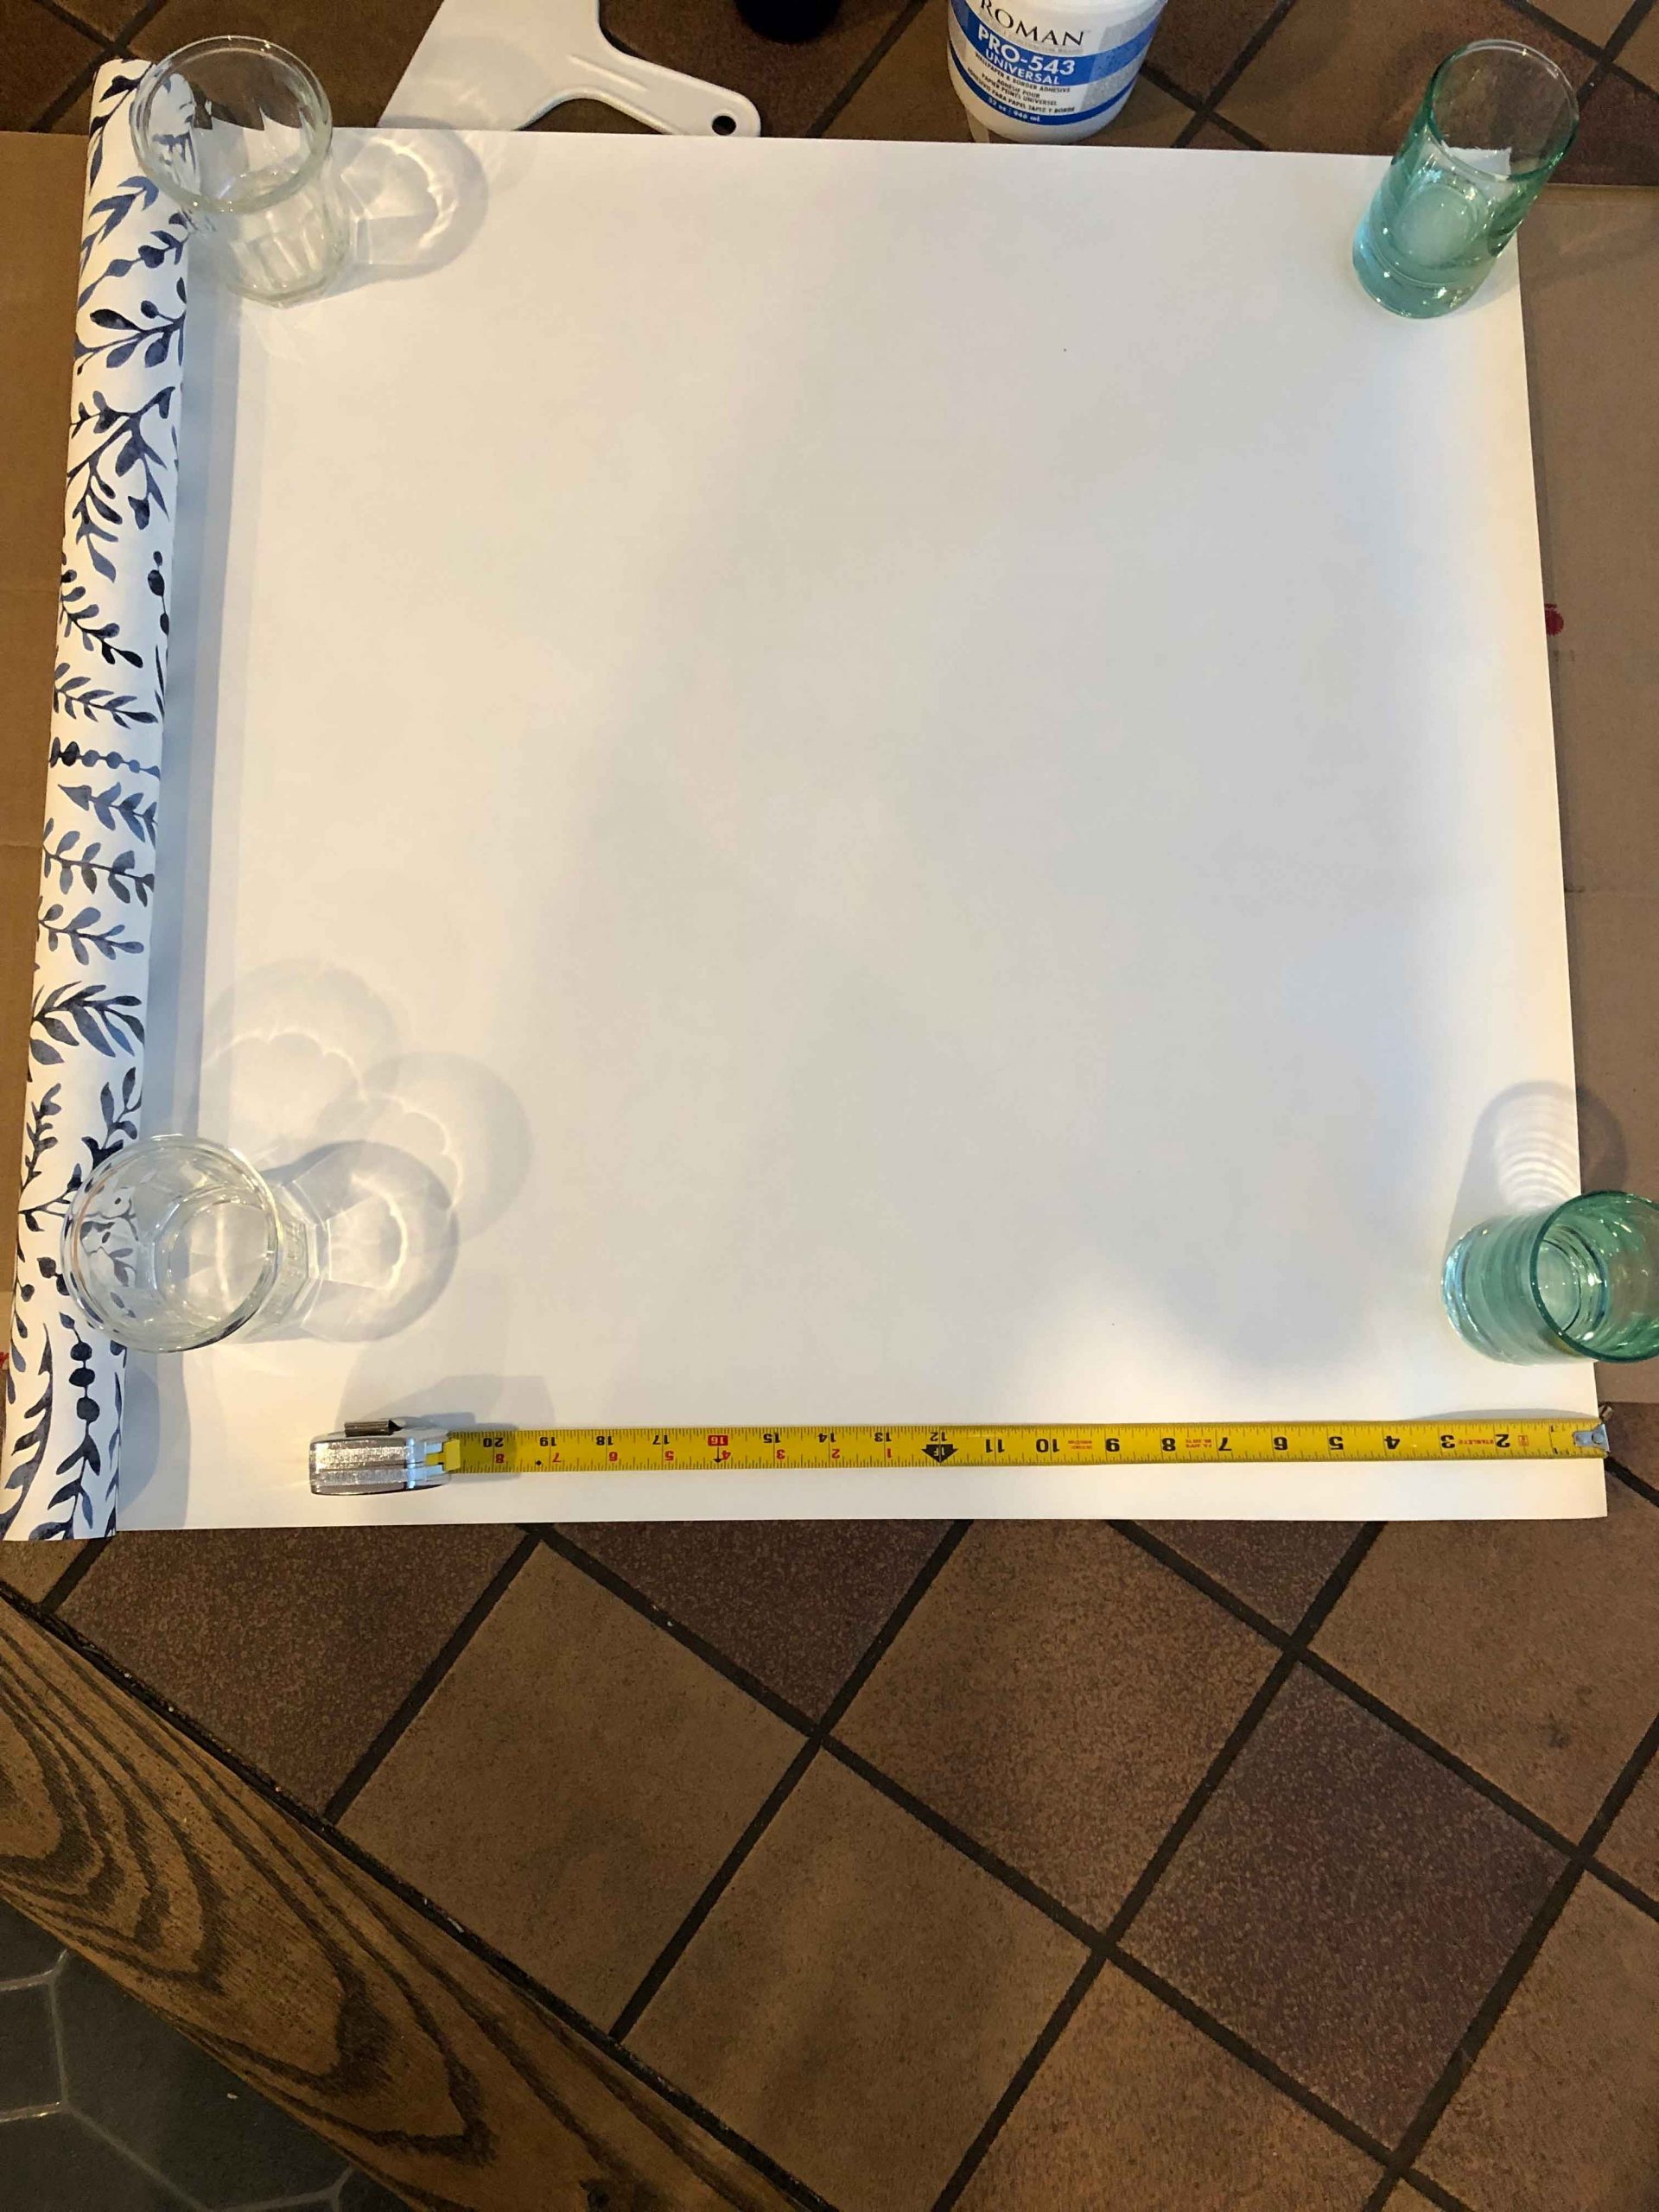
First, measure the size you need and mark it on the paper. Then, cut the paper to the appropriate size.
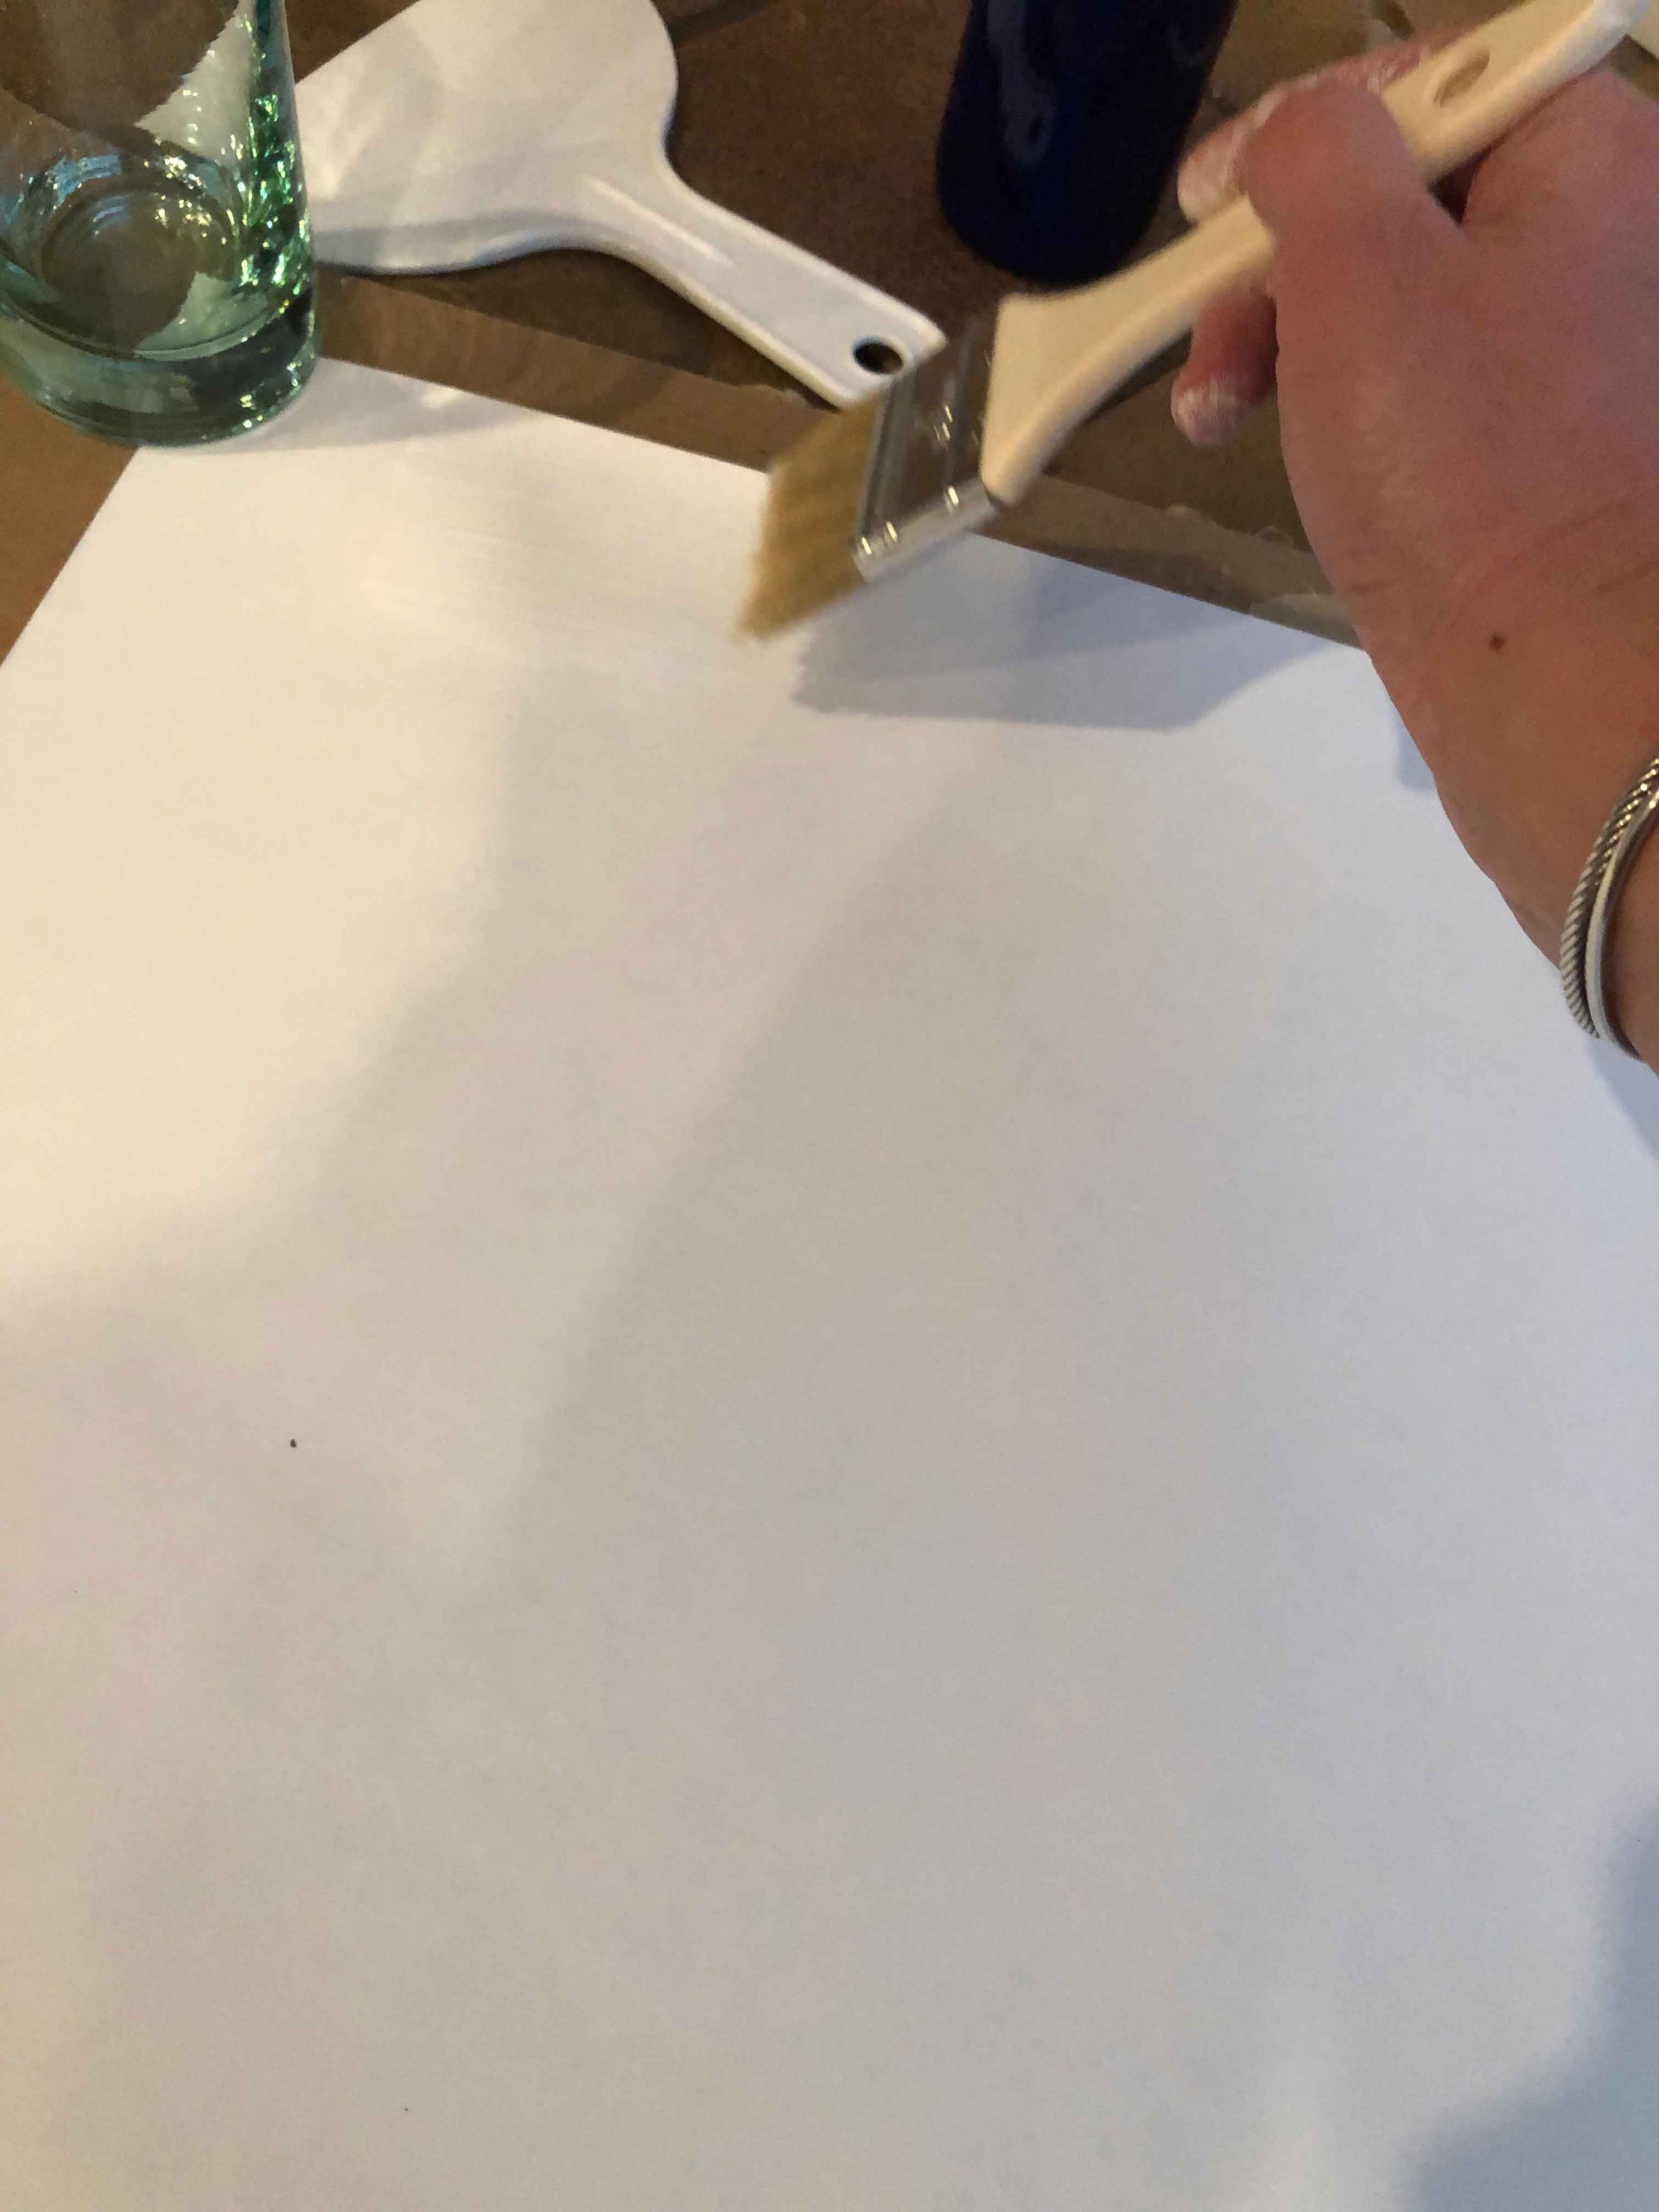
Now, you will need to put a thin, even coat of glue onto the paper using the chip brush.
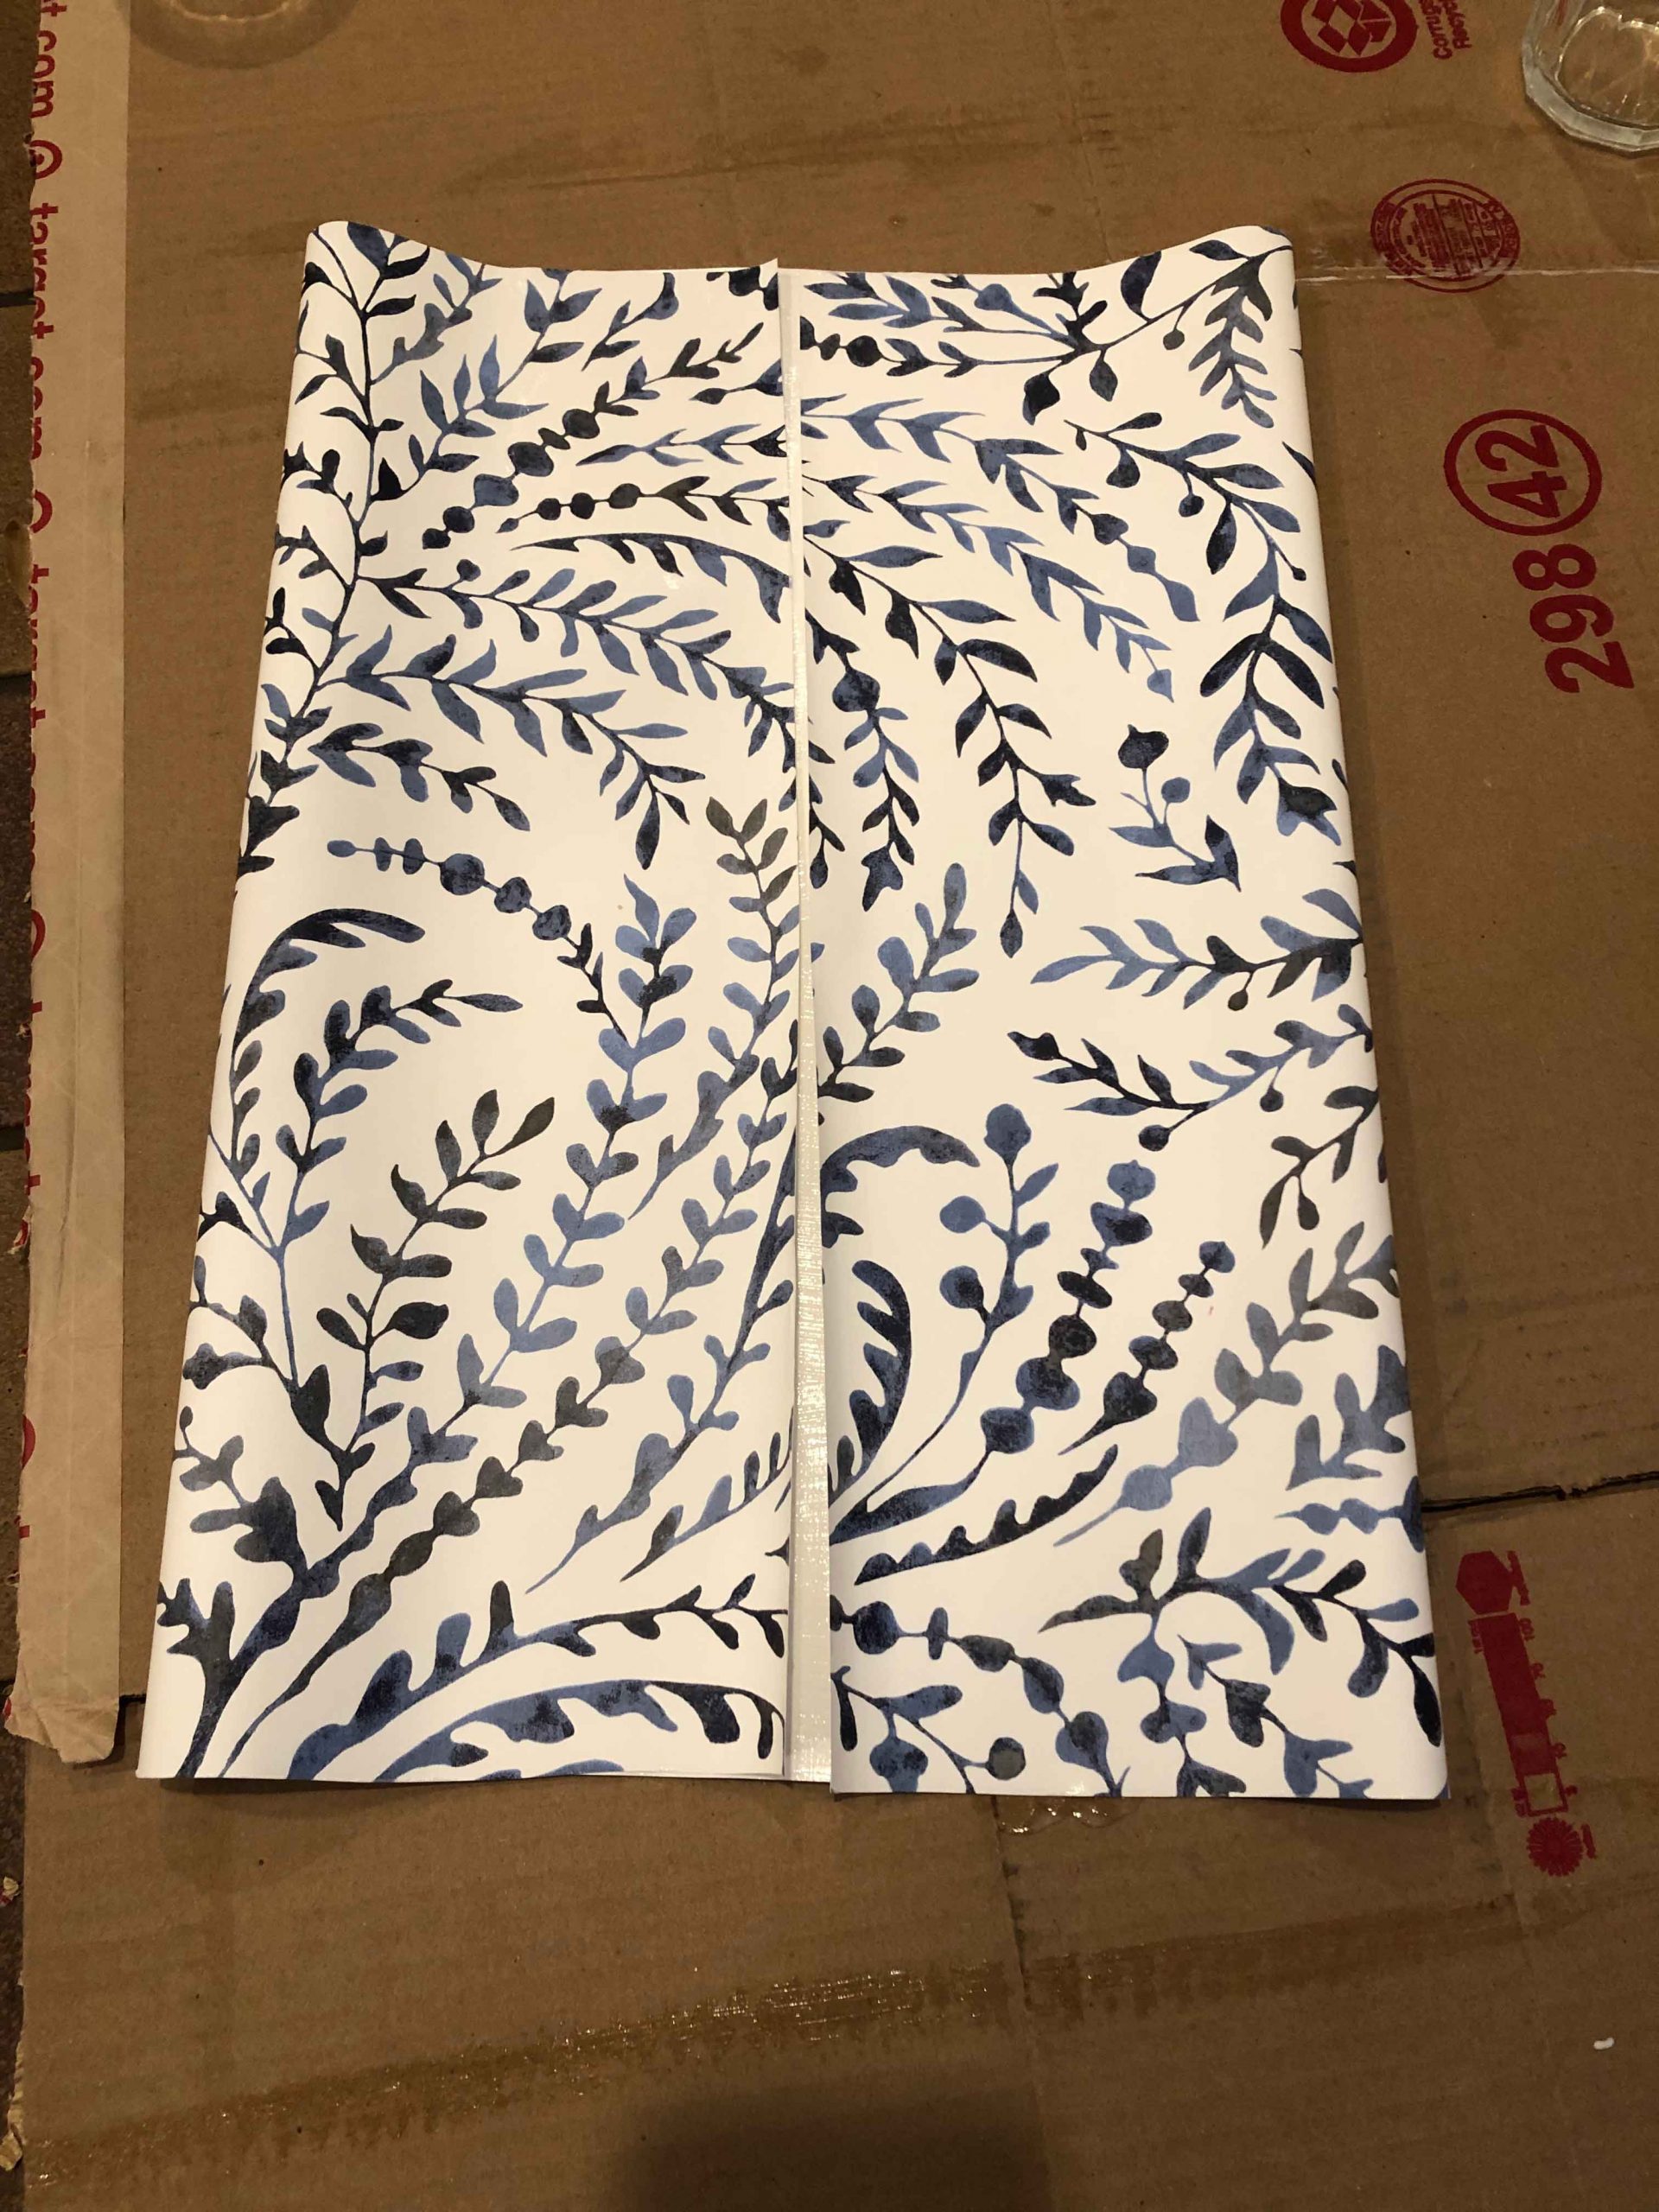
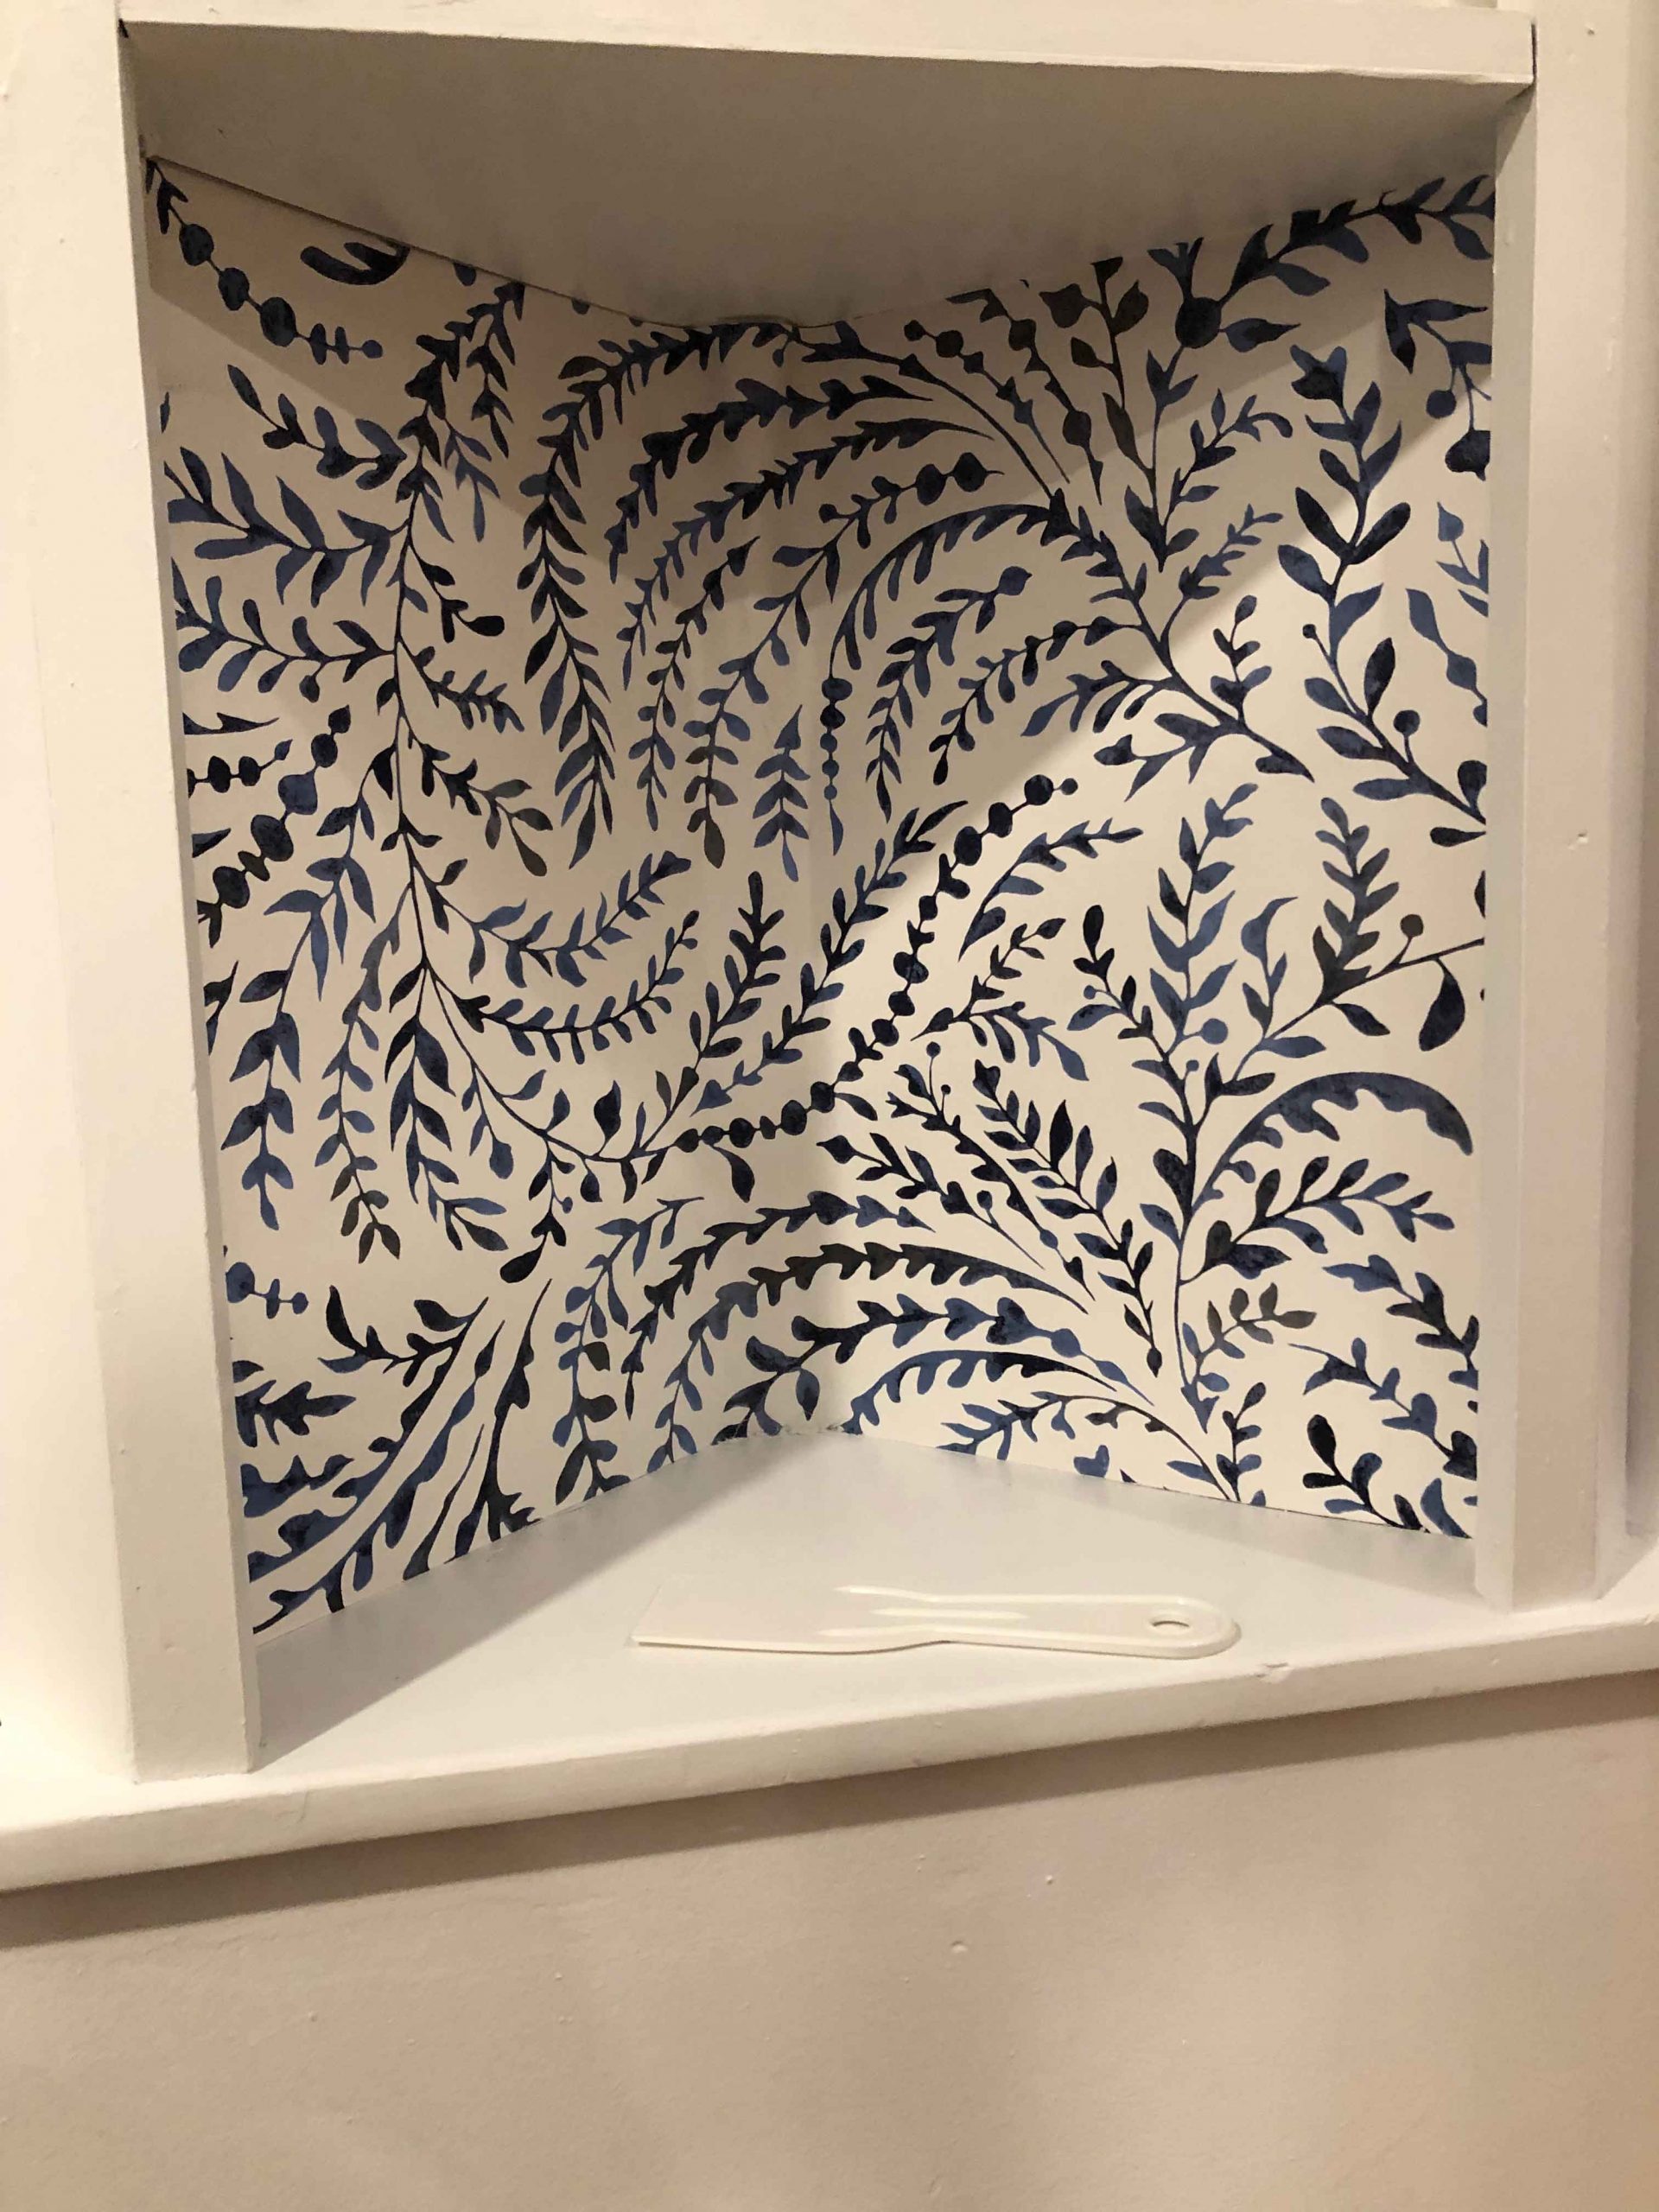
Then, you need to fold the outer flaps in like in the picture below. This is called booking. Once you’ve done this, you need to let it sit for 3 min.
After 3 minutes is up, you’re ready to put the wallpaper to the wall. I lined it up with the upper left corner. I then sprayed the paper with water a few times. The spray bottle of water helps to make the paper more pliable and easier to manipulate to get the positioning right. The directions also recommended using a wet sponge for smoothing out any bubbles but I did not need this. I was able to smooth out any bubbles with the plastic scraper.
Once you’ve lined it up, you can trim the excess using an xacto knife and running it along with the scraper in place along the edge as your guide. You can also use a box cutter but I found my xacto knife to work much better.
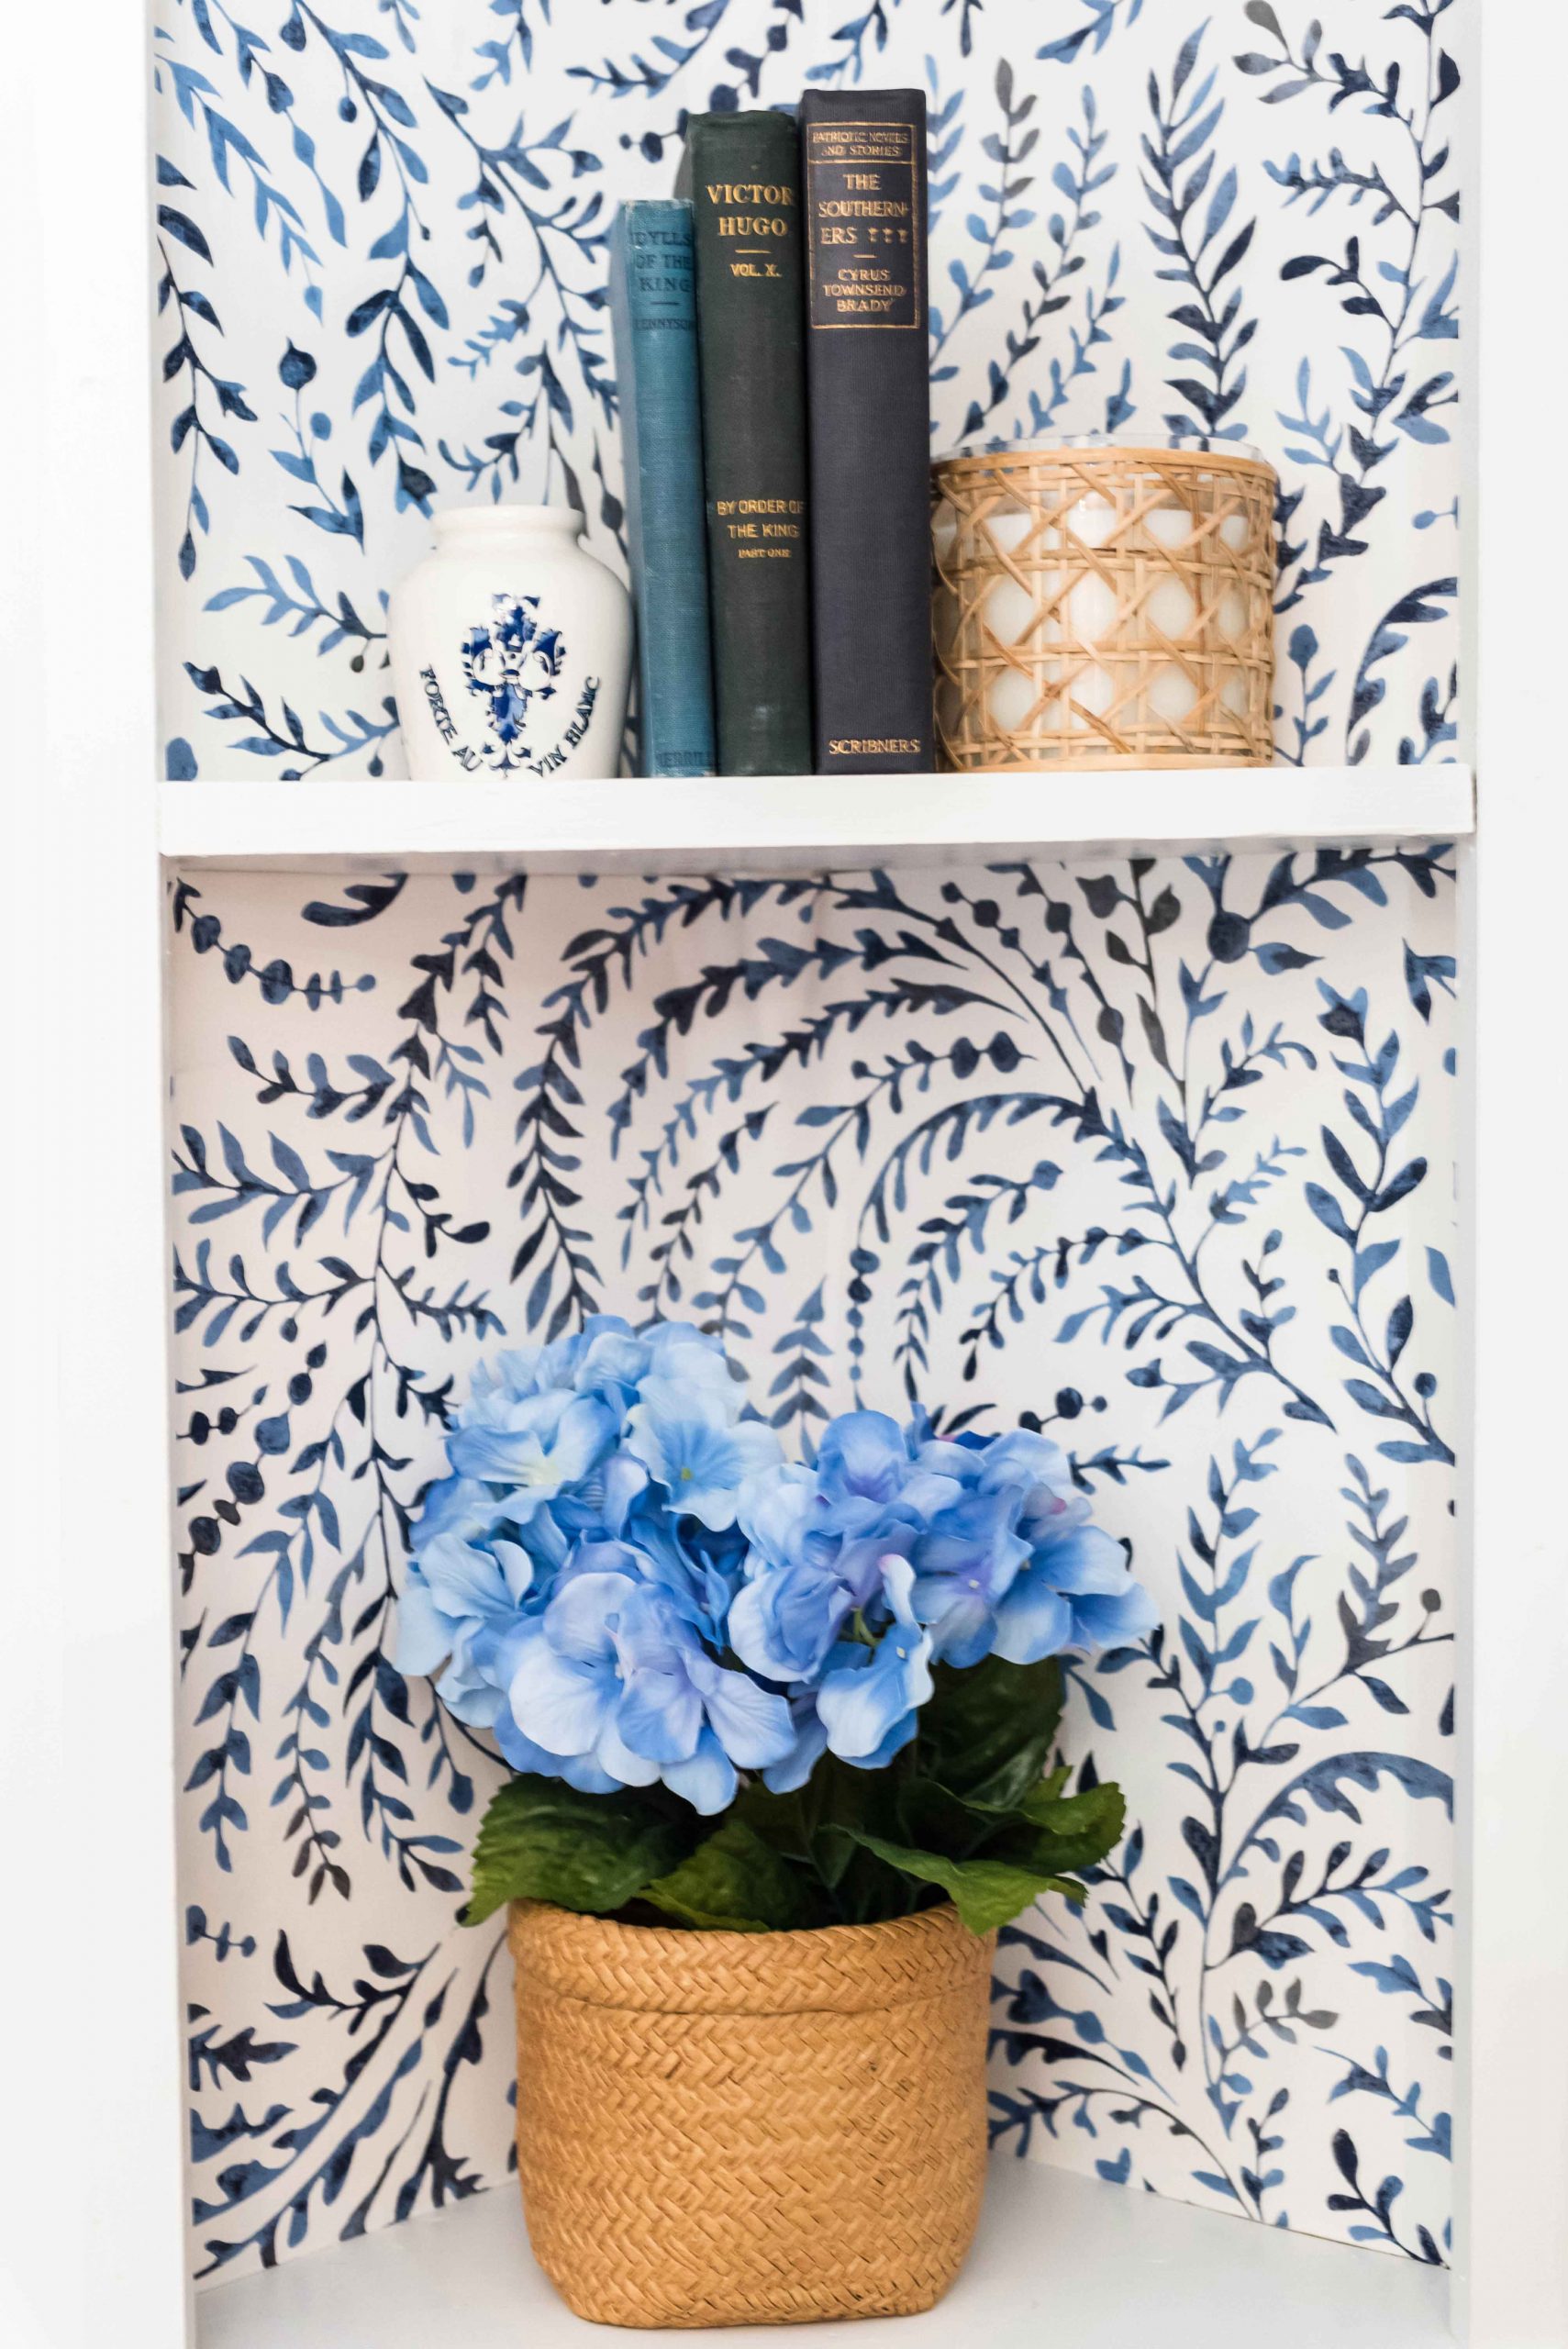
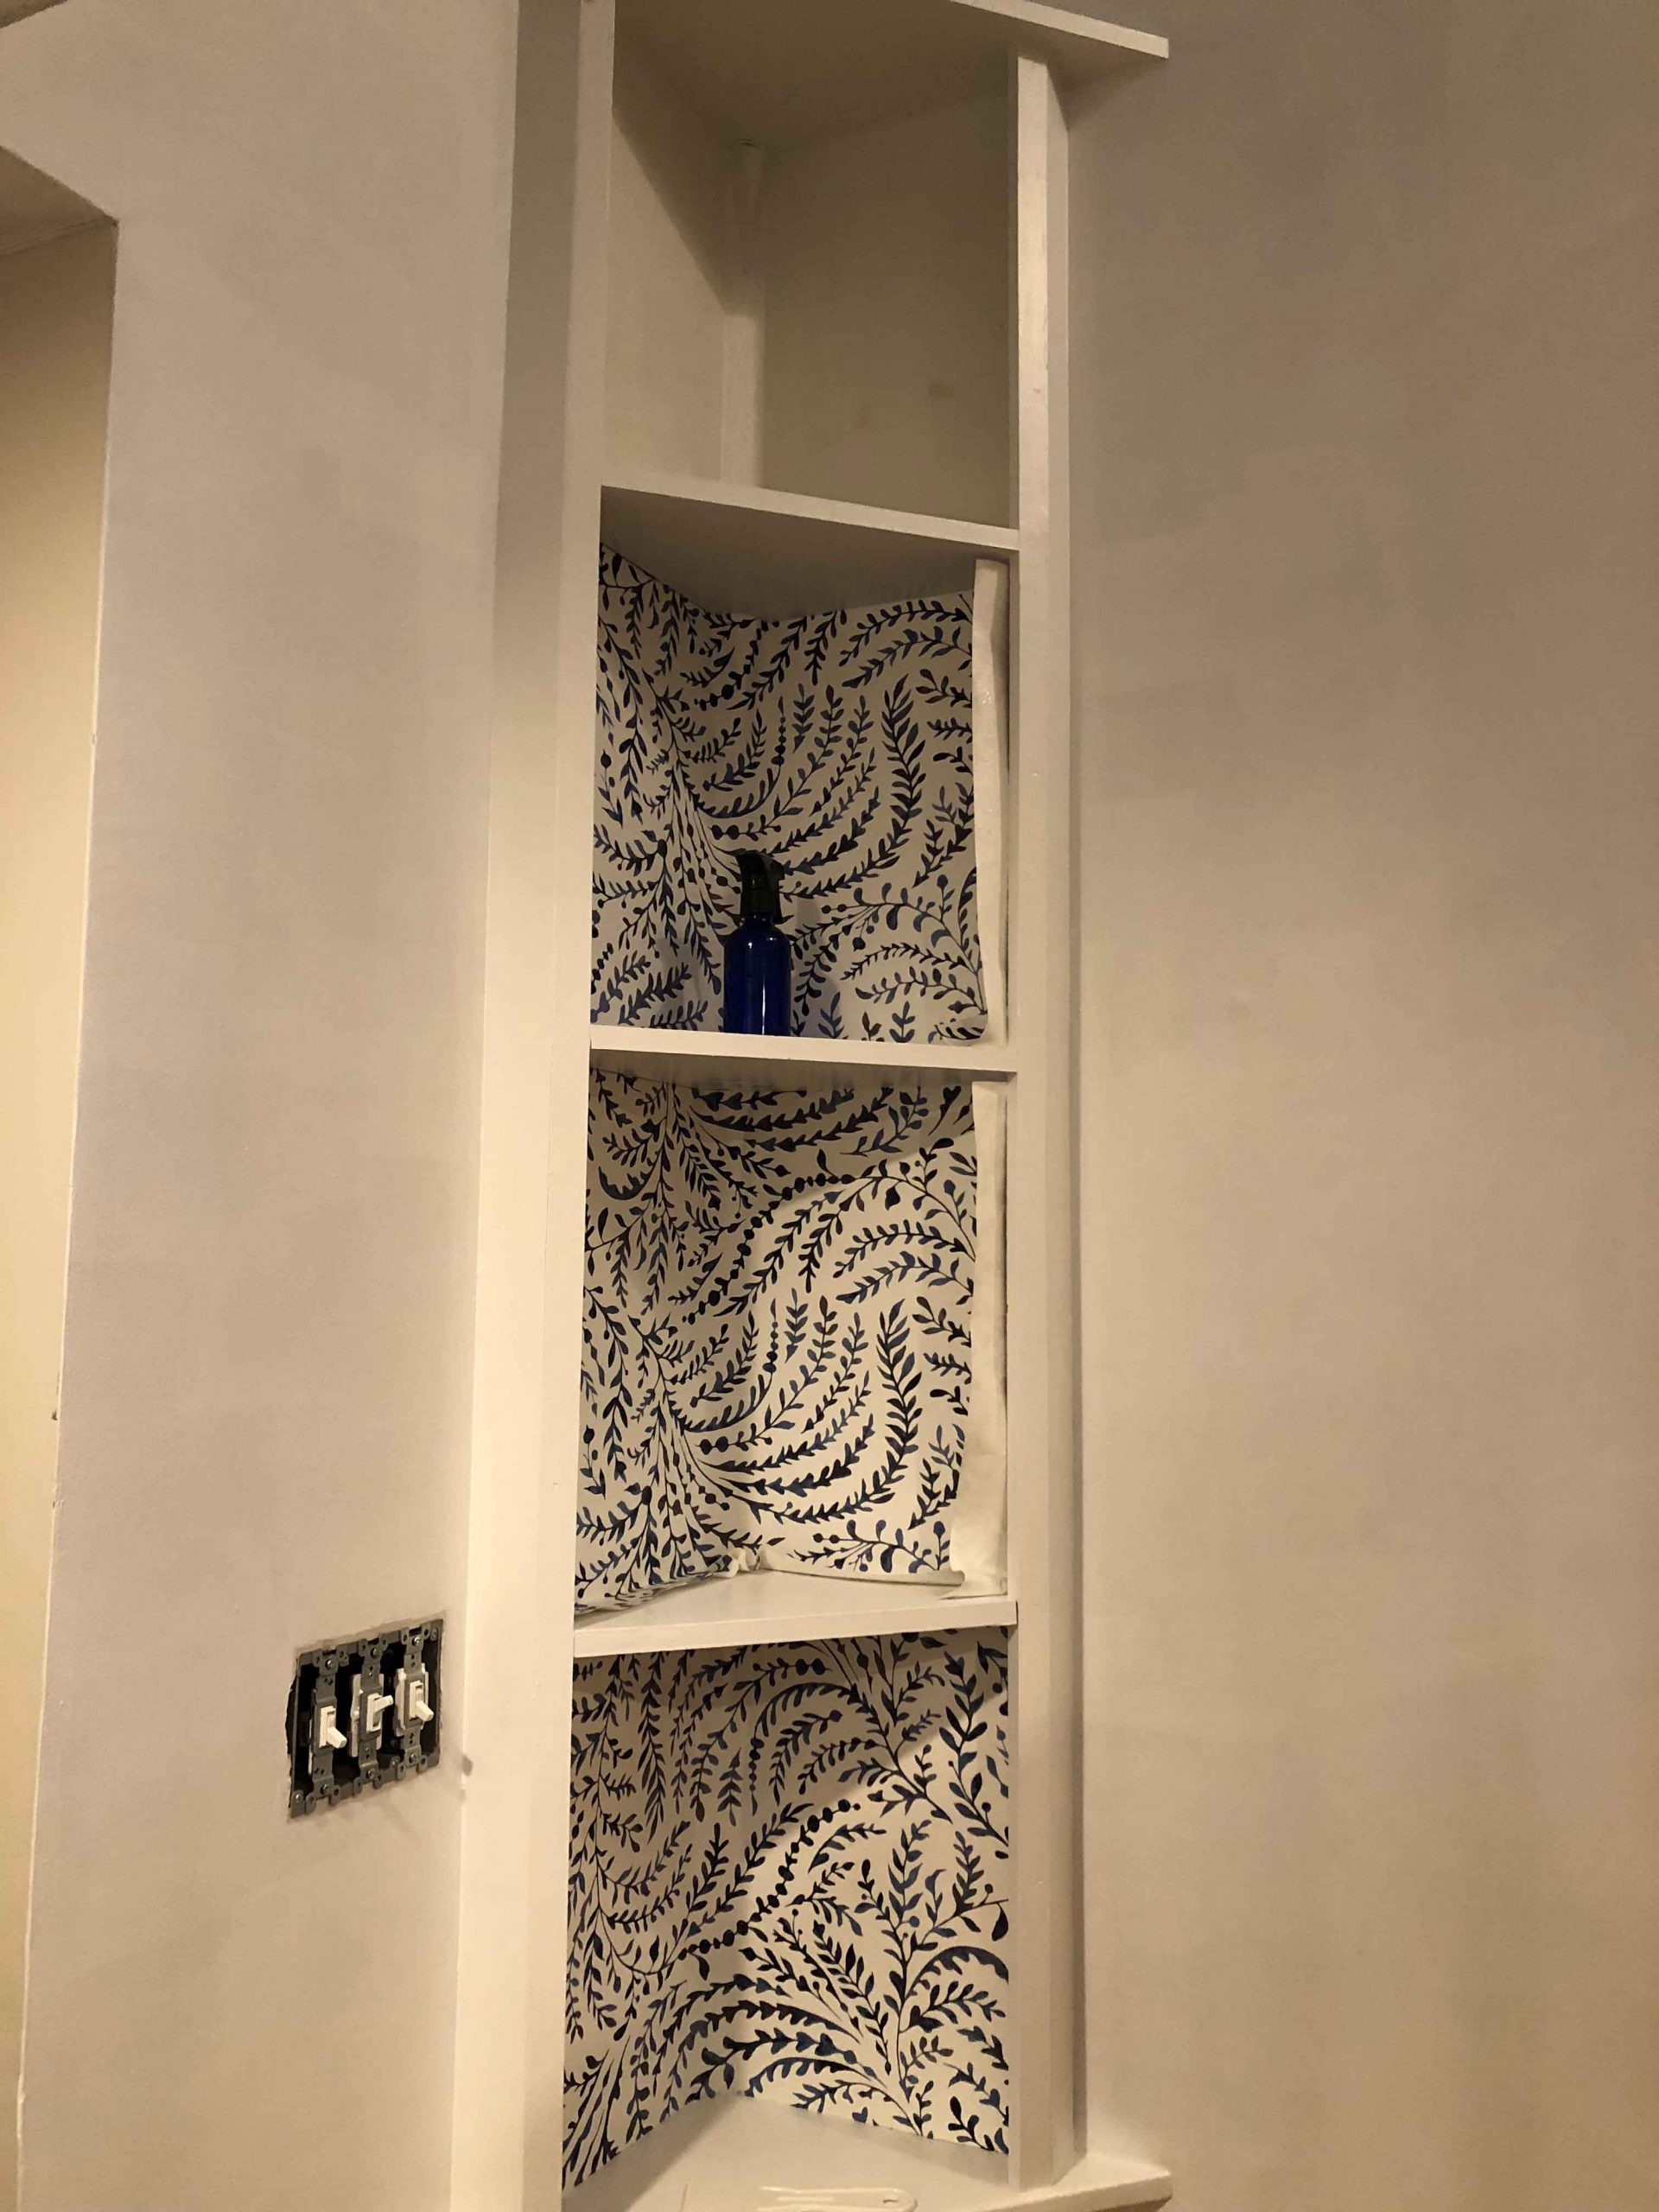
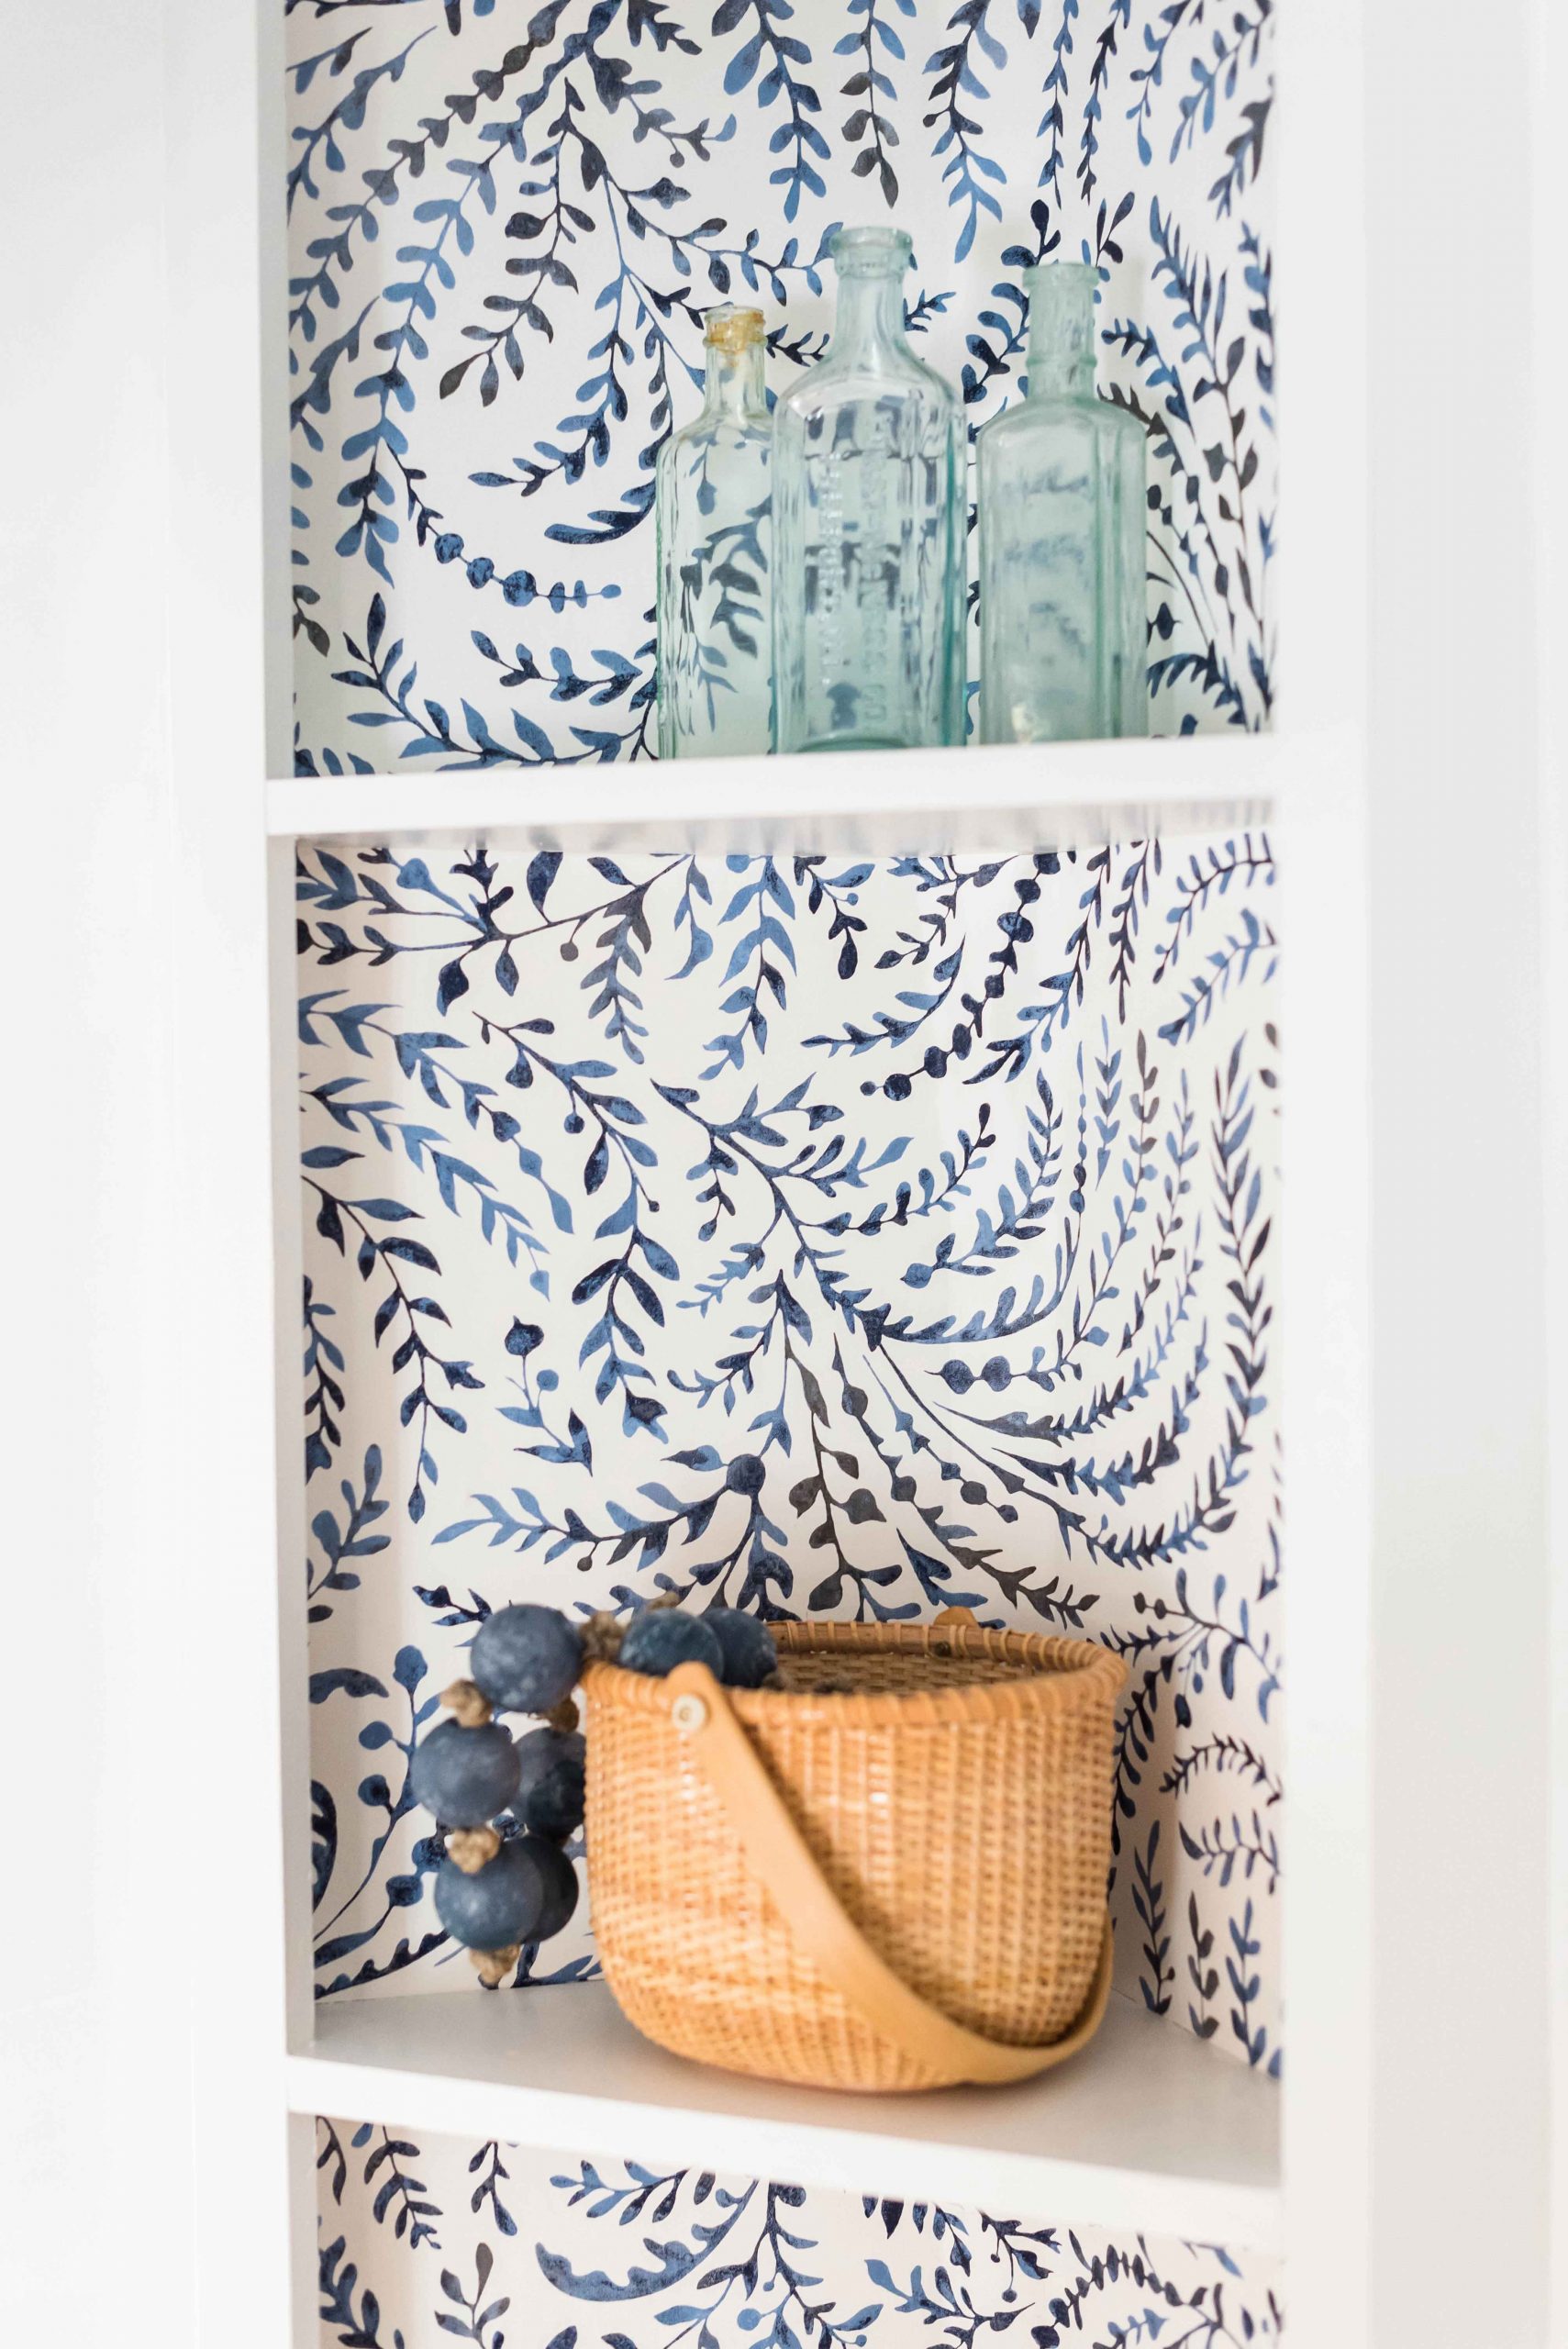
And there you have it!
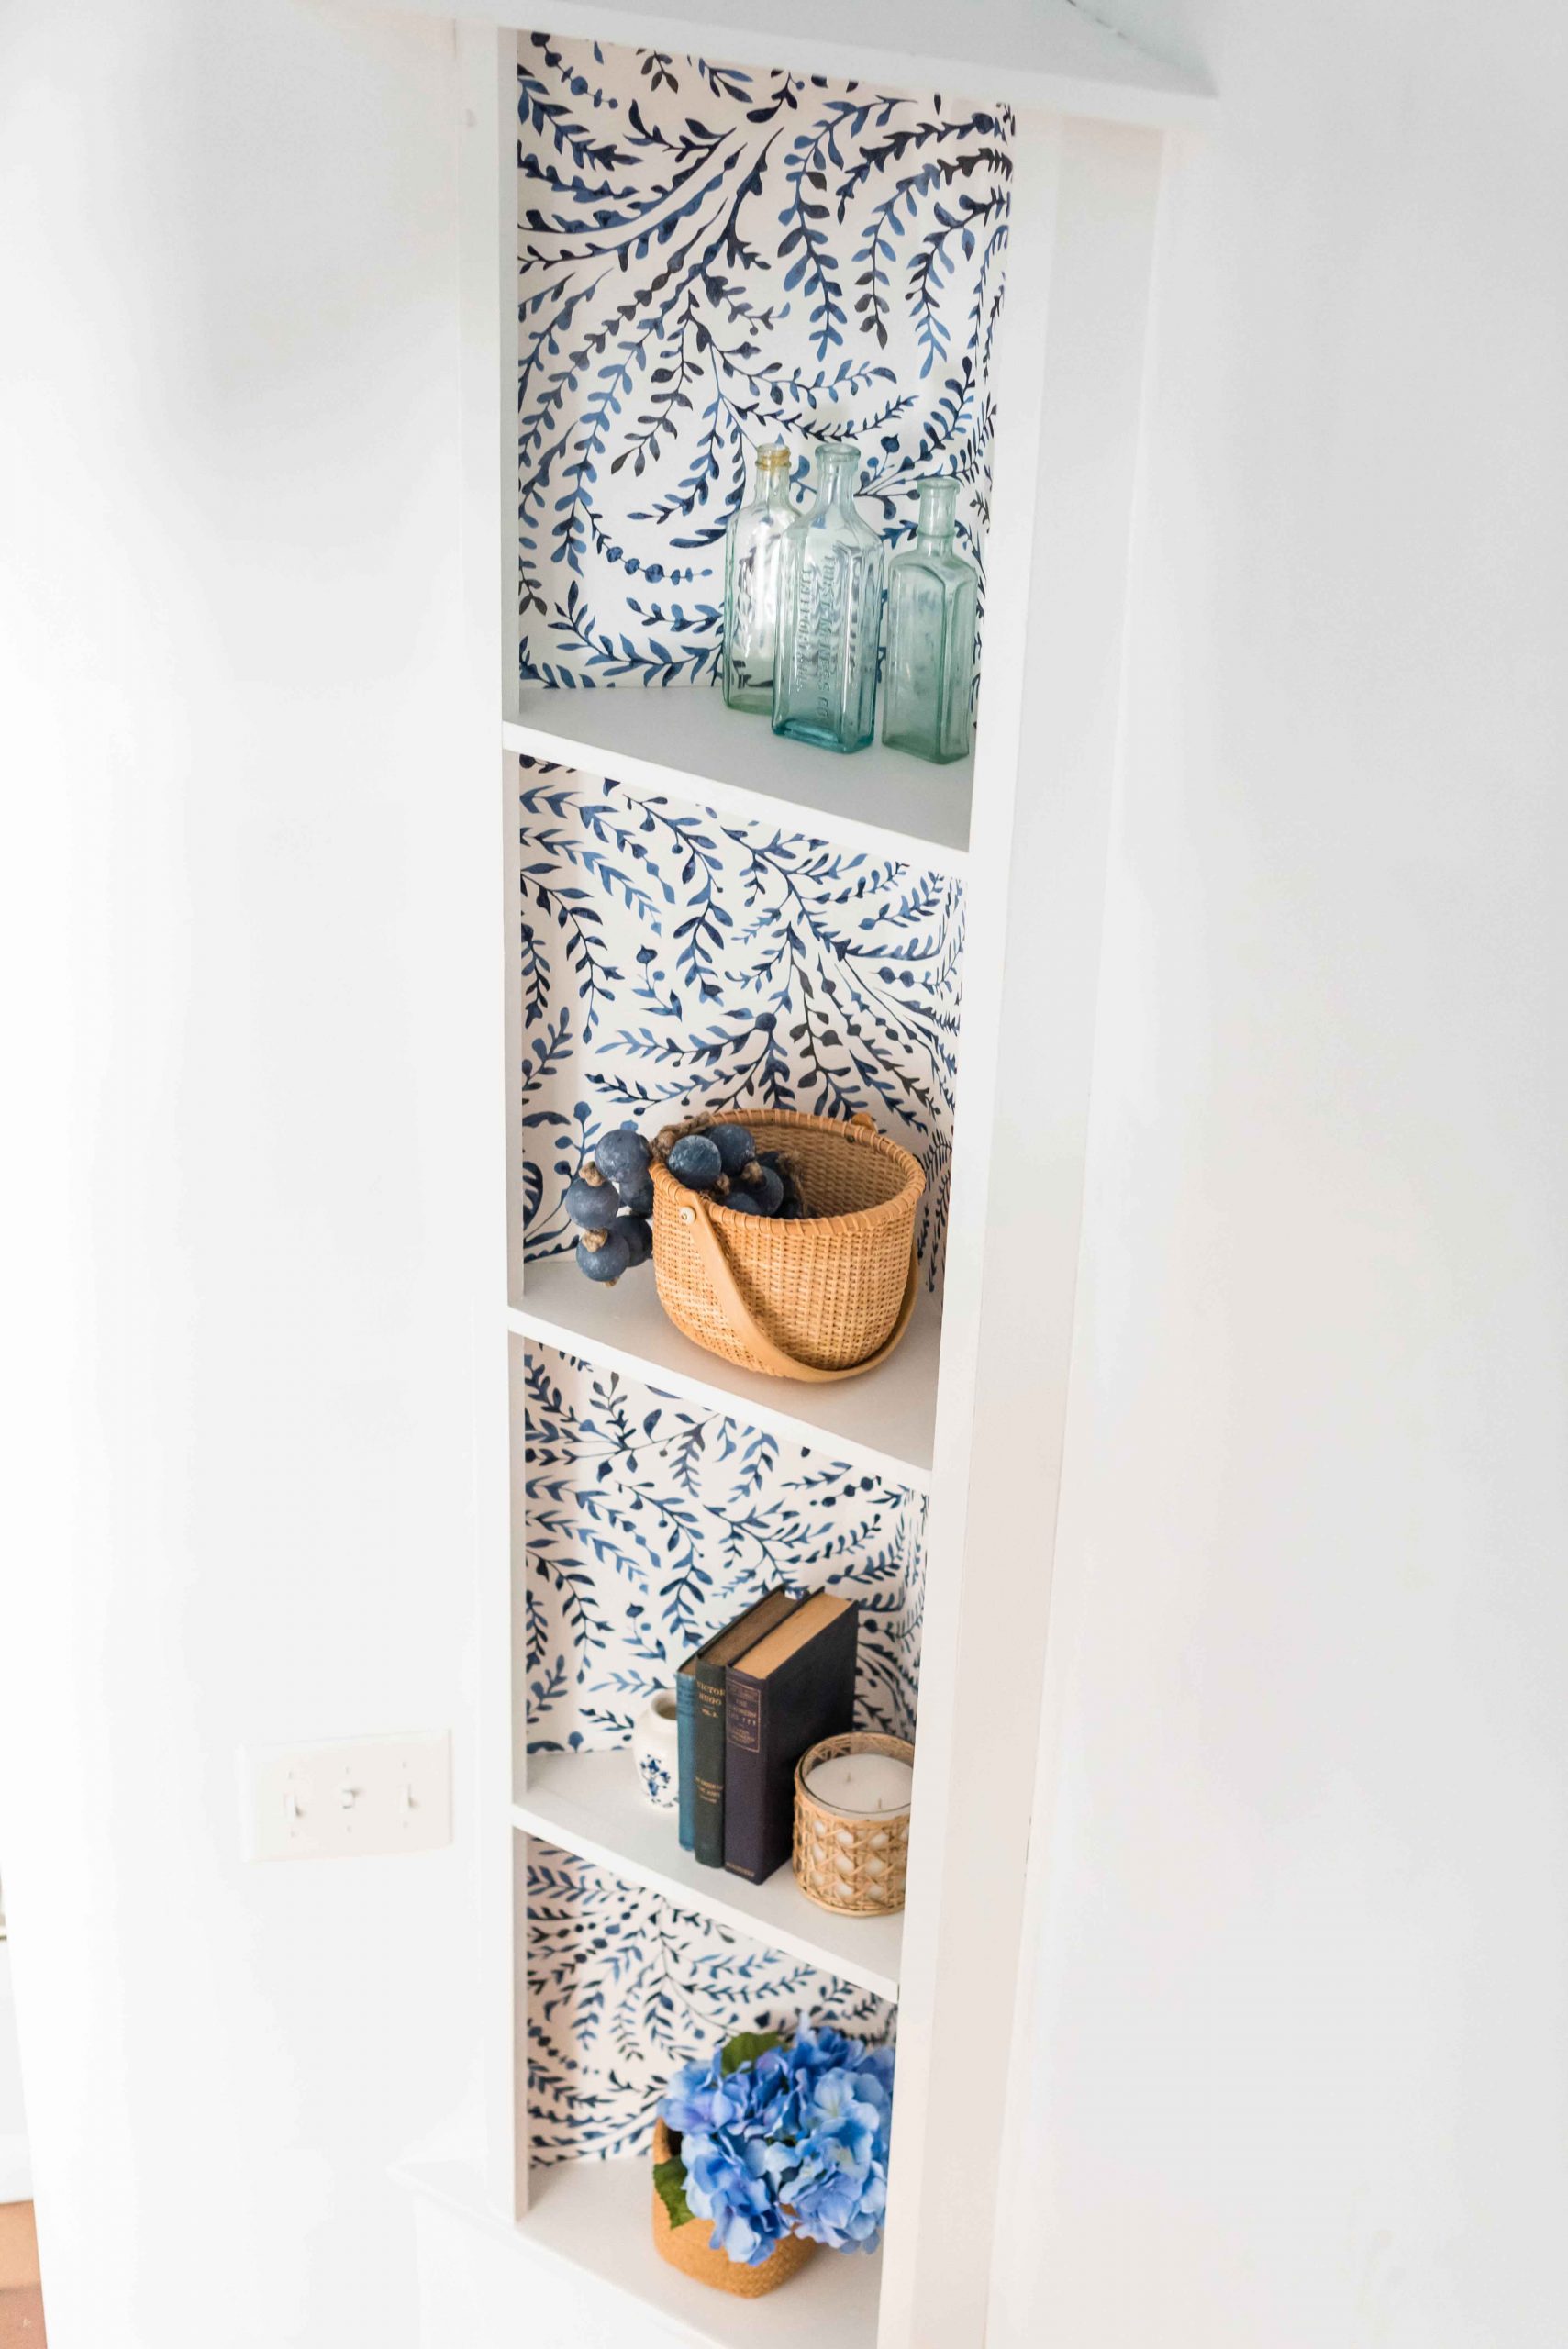
This project was really not that bad. I must admit, I was a bit nervous. It was my first time using wallpaper and I really enjoyed it. It went fairly quickly and has a big impact.
I think it works perfectly with the coastal decor pieces.
Hope you enjoyed this post and maybe felt a little encouraged to try something new! 🙂

Sorry, the comment form is closed at this time.