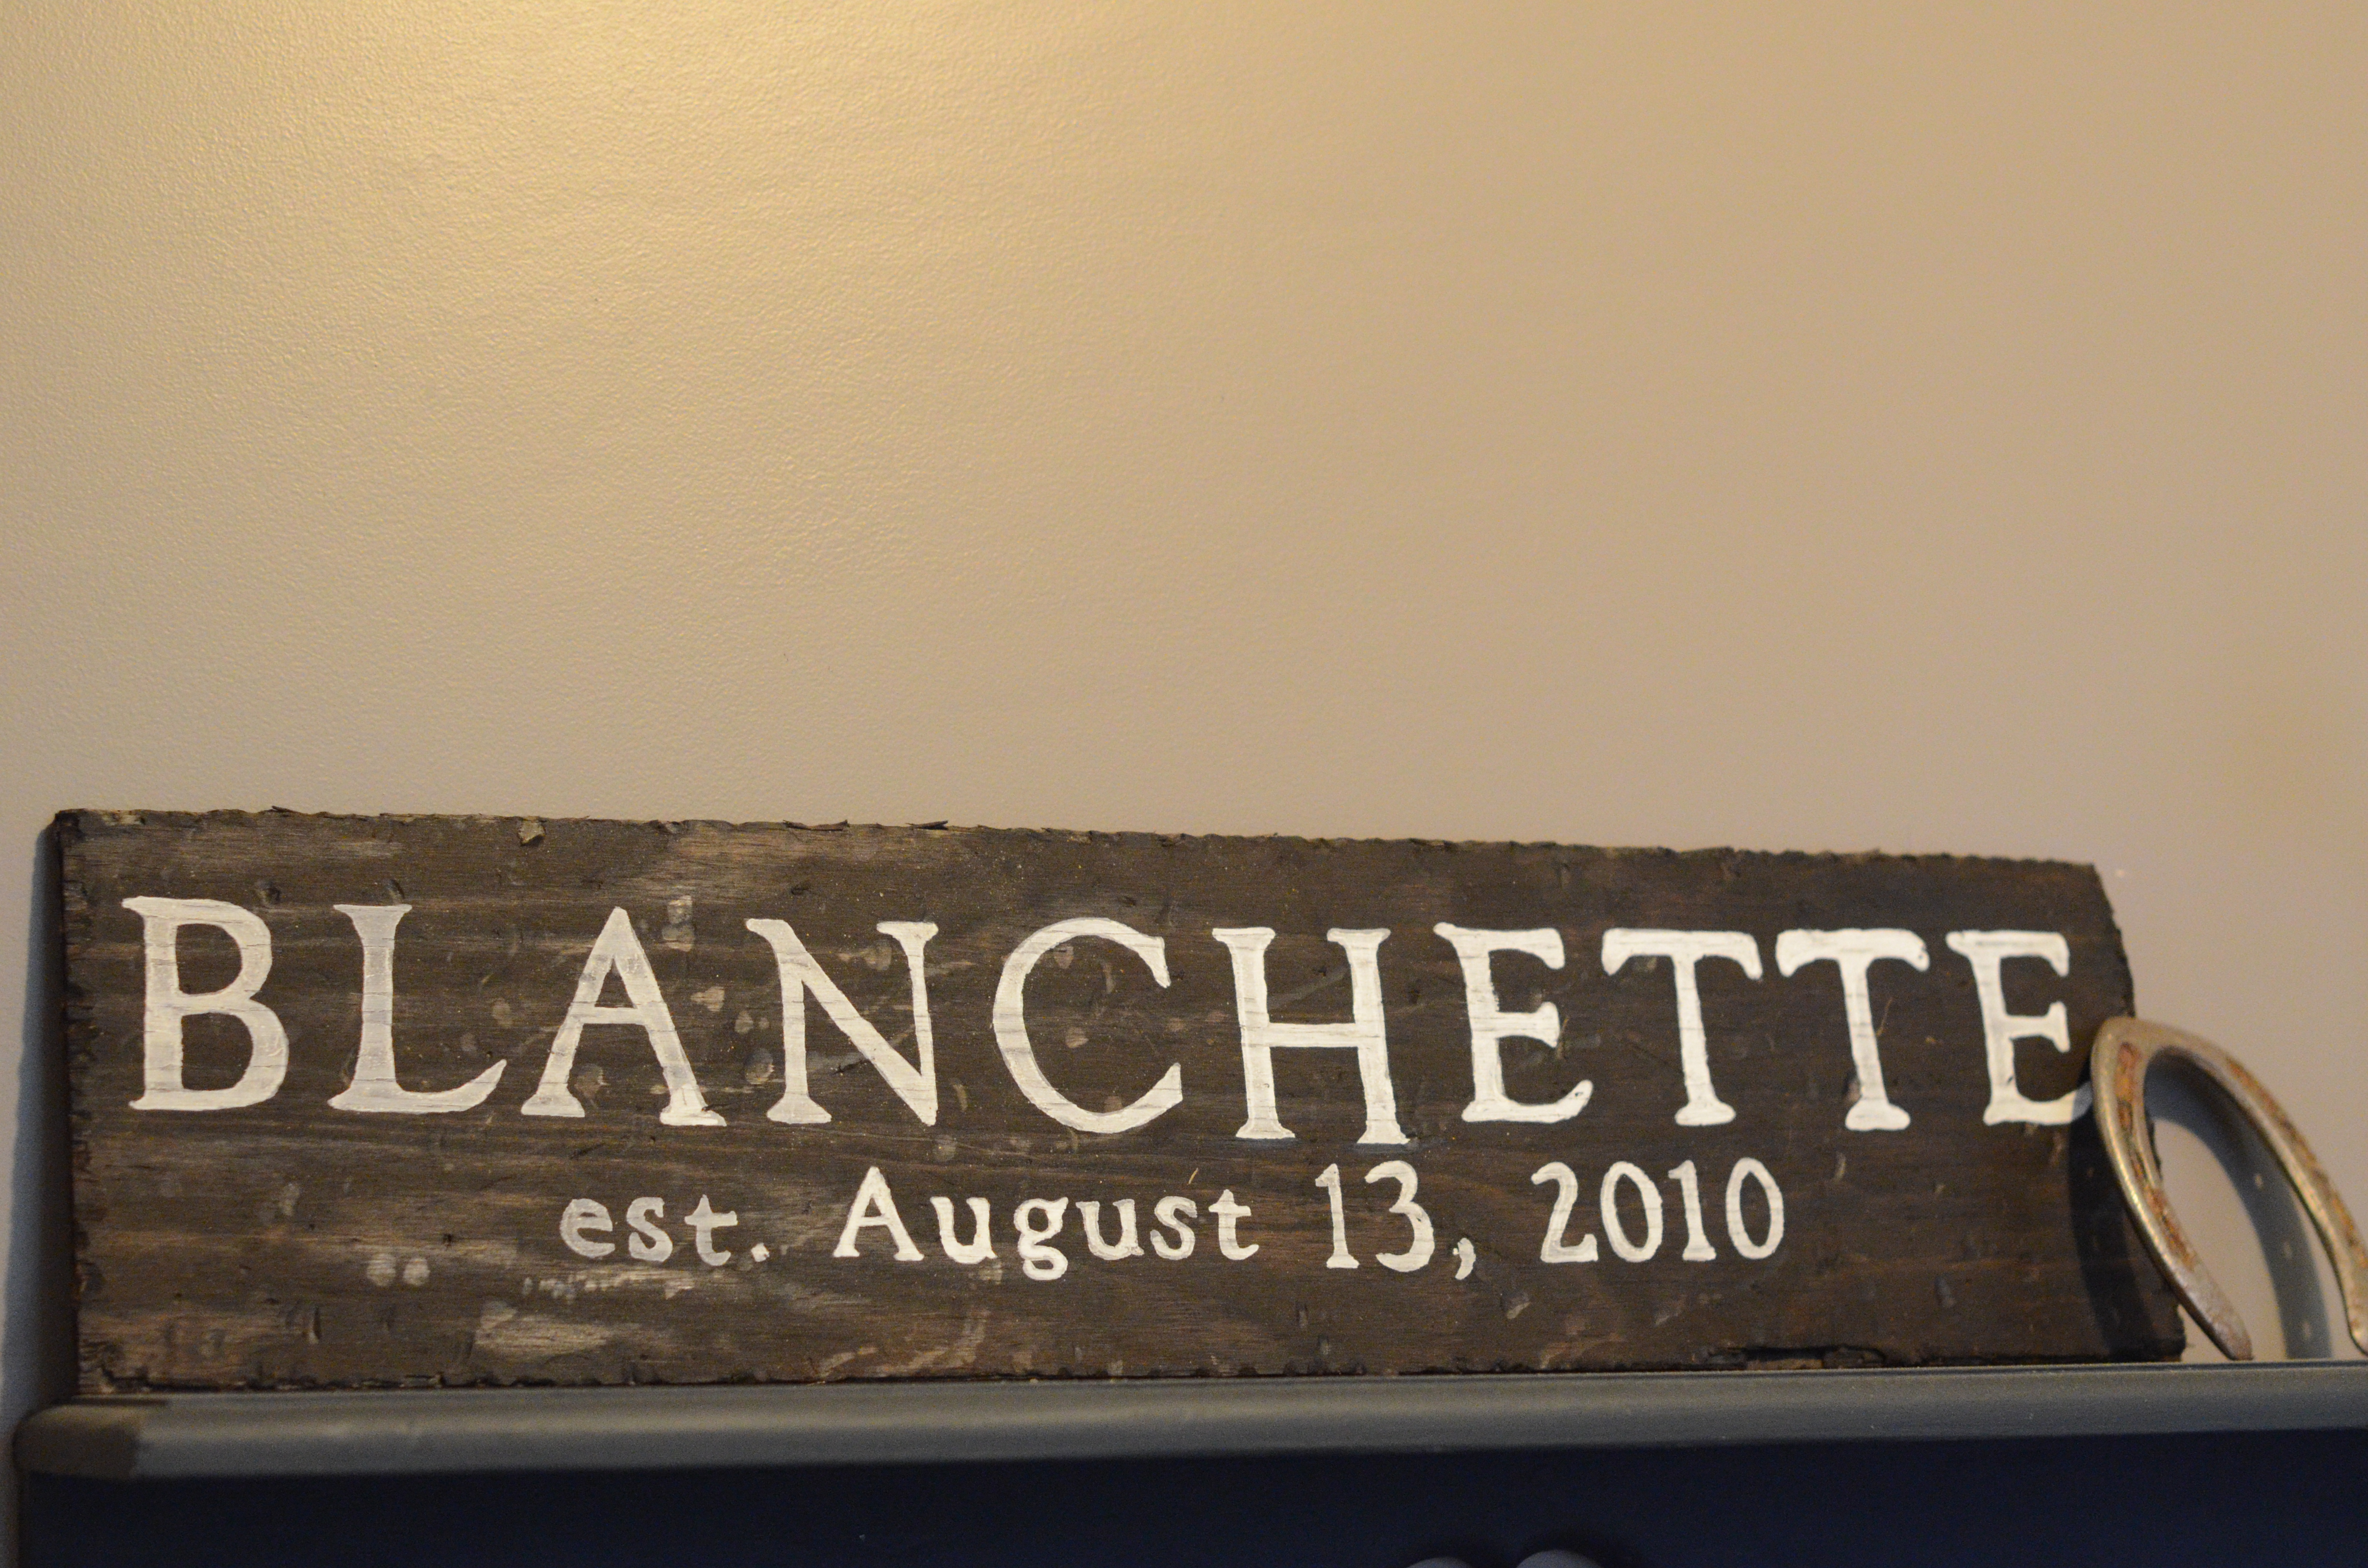
13 Aug Distressed Wood Family Established Sign
First, I measured the piece of wood for the sign which was 24 in wide by 6 in high.
Then, I laid out the text in a 24×6 document on the computer. I used Adobe Illustrator but you can use any word editor like Microsoft Word. Next, I reversed the text in my document (so it read backwards, I’ll explain why below) and then printed it on two 8.5×11 pieces of paper and taped them together since I can’t make really large prints with my printer.
To distress my sign, I took a hammer and flat head screwdriver and started denting the wood. You can use anything that will leave a mark to distress your board. I did this as randomly as possible to get a more natural look.

I then proceeded to stain my sign with Minwax Jacobean which came out a bit darker than I had hoped. 
For the next step, there are many different ways to get the lettering onto the wood. For this project, I traced (outlined) the text with pencil, printed (ink) side up (the side with the reversed text). Make sure to press down hard enough while tracing and do it a few times over so you really have a good line around the letters. Next, I flipped over the paper and placed it onto the board and traced it again. The first side that you traced should leave an outline of the letters onto the board.
This isn’t a great picture, but you can sort of see the outlined text.
Finally, I used a white paint marker to fill in the letters.
Voila! A distressed wood sign!


Sorry, the comment form is closed at this time.