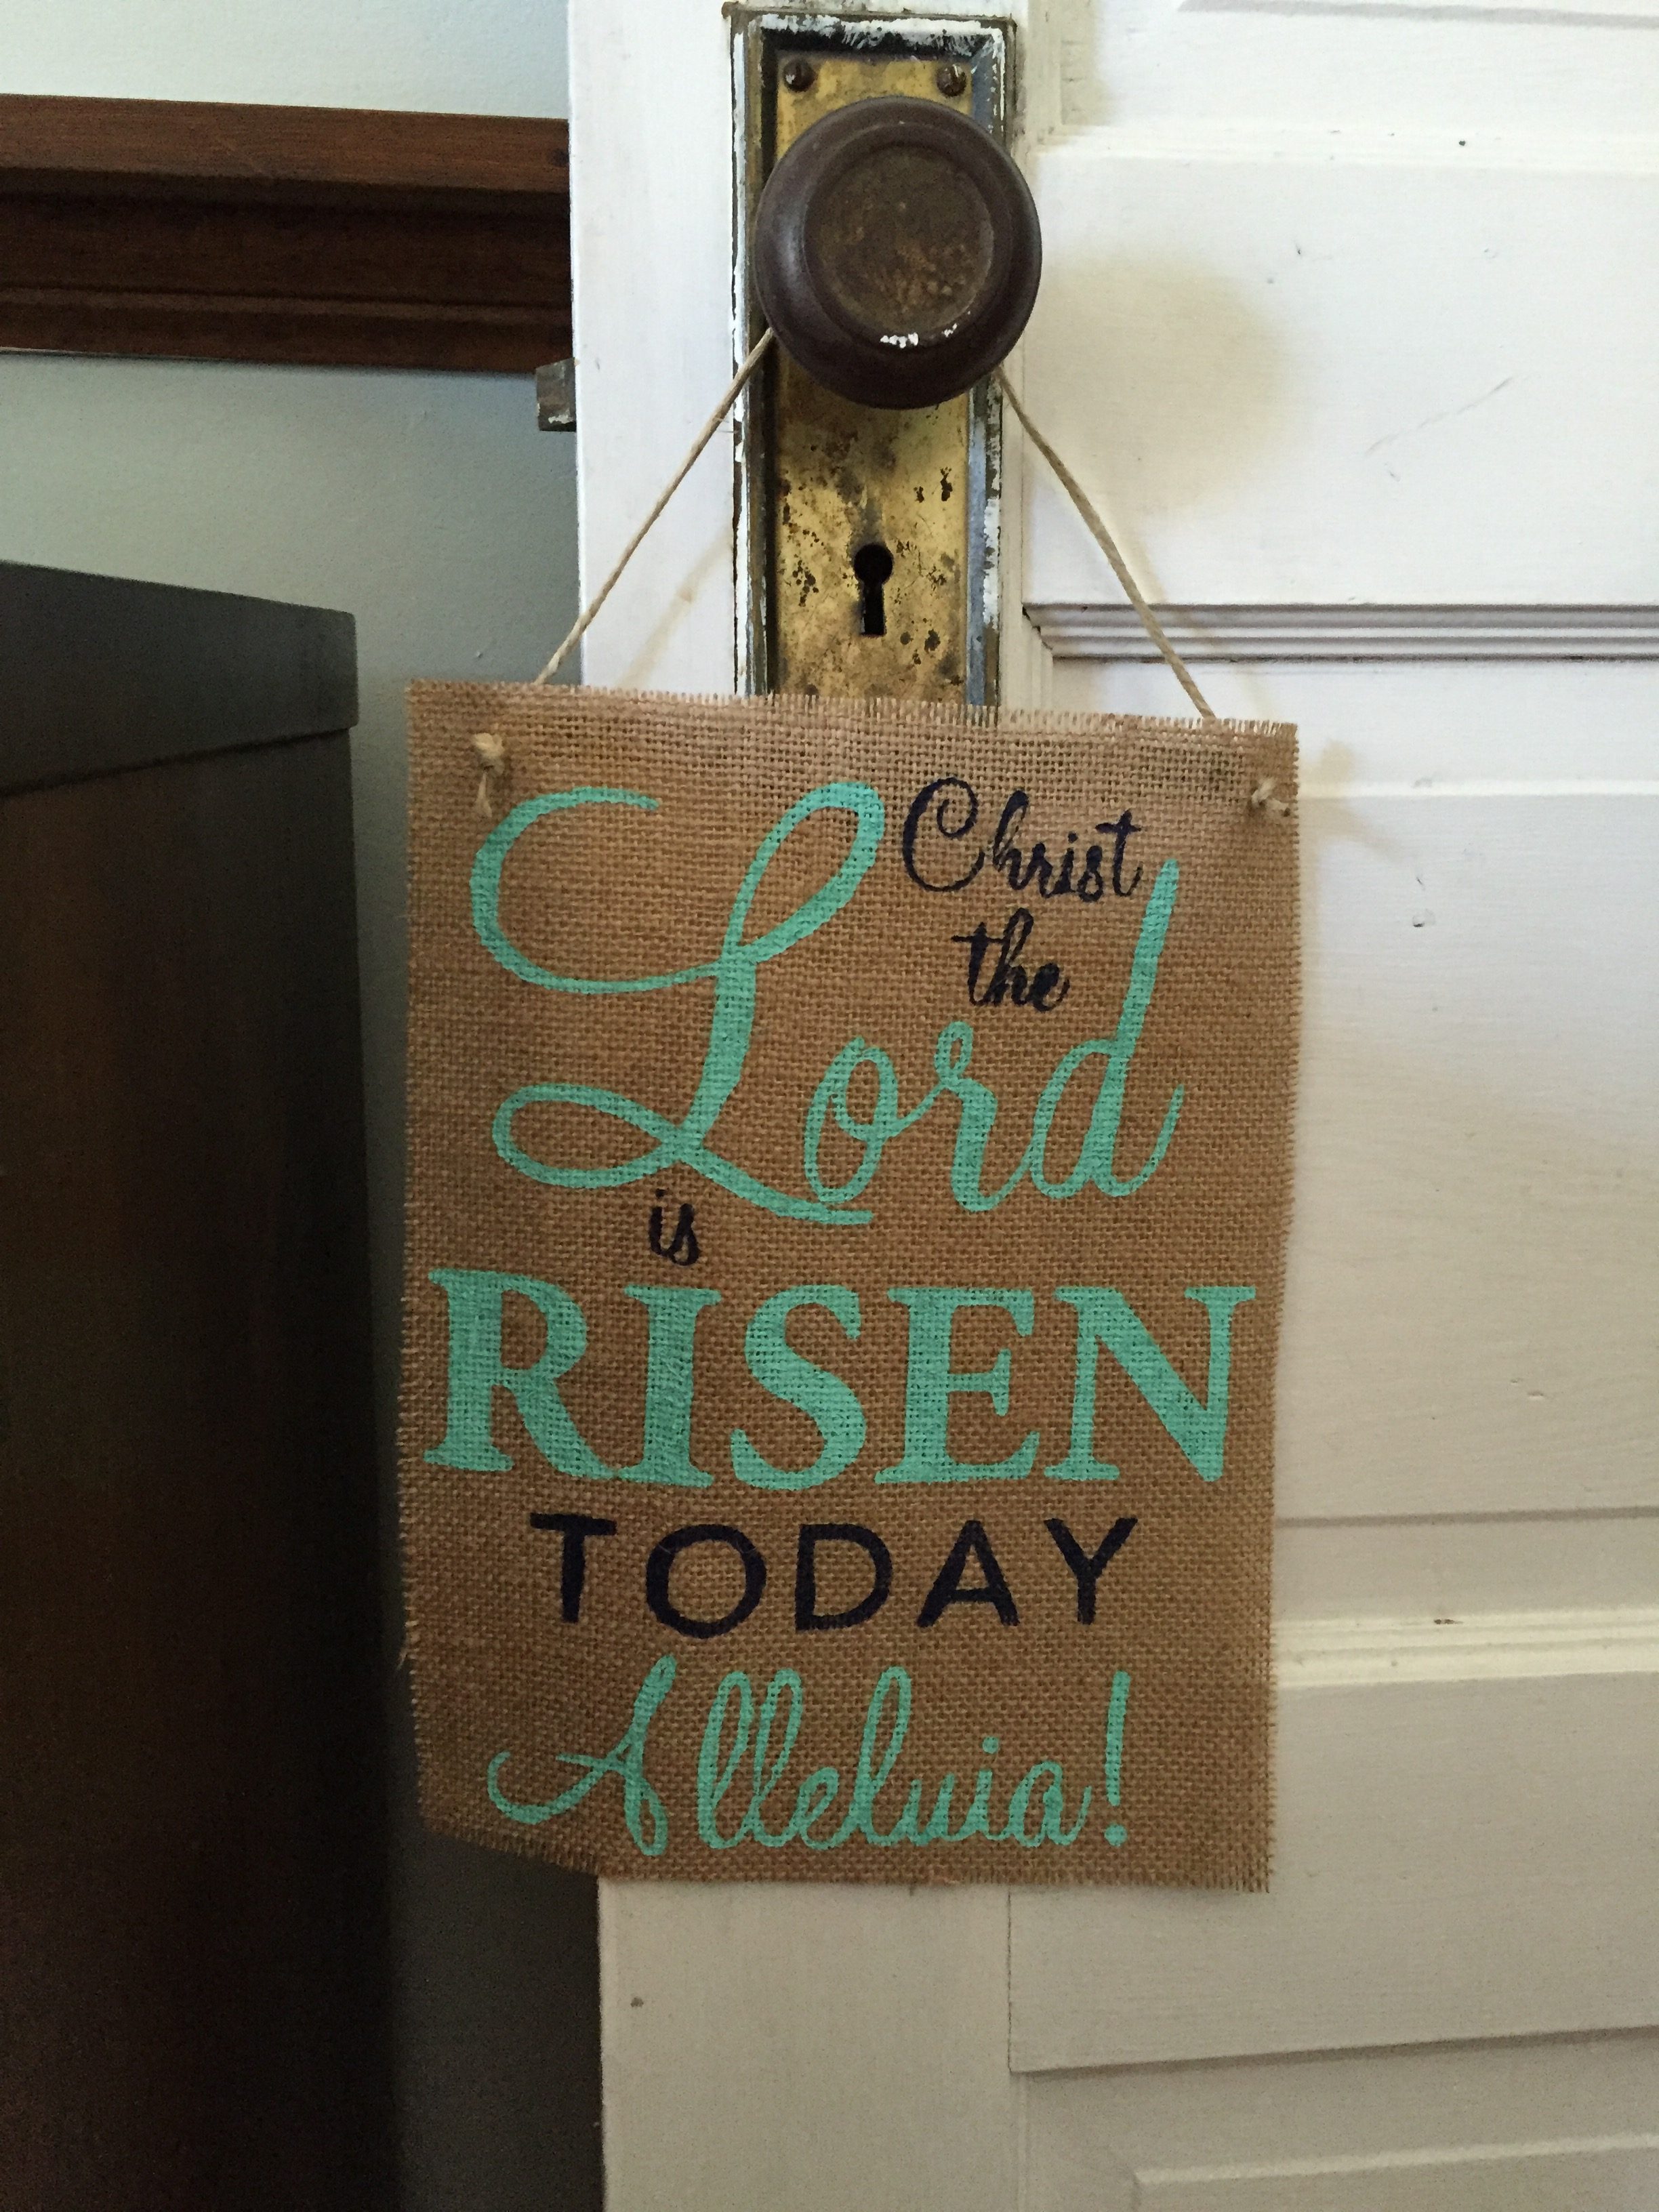
11 Mar DIY Easter Burlap Banner
This is a really quick and easy craft that you can do for any holiday or just for fun.
I chose to make one for Easter using my Silhouette Cameo. You can use any pre-made stencil or make your own like I did with a stencil-making machine like the Silhouette Cameo or Cricuit.
Supplies needed:
- 1 – 8″ x 10″ sheet of burlap (craft stores sell single sheets)
- craft paint (sold at Walmart or craft stores)
- foam brushes (sold at Walmart or craft stores)
- paper or plastic plate for the paint
- stencil
- hole punch
- jute/hemp twine (sold at Walmart or craft stores)
First, lay your stencil on the the burlap exactly how you want it to be painted. It would help to tape it in place so it doesn’t move around on you. Because I used my Silhouette Cameo, I printed my stencil on freezer paper which allowed me to temporarily adhere it to the burlap using an iron. This is optional but, sticking the freezer paper helps in getting crisper lines once you apply the paint.

Next, prepare your paint on the plate. Then, dap it onto your stencil. Try not to use too much paint when dabbing to try to prevent it from bleeding underneath the stencil.

If you are using a regular plastic stencil, remove it to let the paint dry. Because I used freezer paper that was adhered to the burlap, I let the paint dry first before removing it.
Lastly, punch holes on each corner and thread the twine through for hanging. That’s it! It’s ready for displaying! 🙂


Sorry, the comment form is closed at this time.