

13 Jan DIY Wood Box
Okay, so I’m certainly not the first blogger to make one of these but I loved the idea and wanted to try making one of my very own. I’ve pinned a tutorial on my DIY Pinterest board on how to make one, but the one I went off of is over at The Idea Room. I built mine slightly different but used the same measurements. The employees at Home Depot are great about cutting everything for you too! 🙂
Supplies:
Two 5.5 inch, 1 x 4 poplar wood boards (ends)
Two 31.5 inch, 1 x 4 poplar wood boards (sides)
One 30 inch, 1 x 6 pine wood board (bottom)
**Here’s a little fun fact. Did you know a 1 x 4 board is actually 1 x 3.5? Same with 1 x 6; it’s really 1 x 5.5. Yup! It’s kinda like ice cream and how it’s no longer a half gallon. Sigh! Booo, inflation :/
Black screws
Drill and drill bits
Stain (such as Minwax)
Polyurethane
Directions:
1. Lay out the boards so they make your box and line it up to prepare for drilling.
2. Using a similar, but slightly narrower drill bit than your screw, drill holes where you want to place your screws to secure the box. This will help prevent the wood from splitting when you go to put in your screws.
3. Insert the screws where you drilled holes, driving each of them in with the drill. You can also use a screwdriver, but this might be difficult depending on the size of your drill holes. Make sure you don’t use too much force and go slowly or you might split the wood. (I had my husband help me with step 2 & 3 with the drill.)

4. Once your box is put together, sand it a bit to smooth any rough edges.
5. Apply your stain. I used Minwax Dark Walnut.

6. Go over the stain with Polyurethane.
Your box is finished and you can fill it with whatever you like for each season!
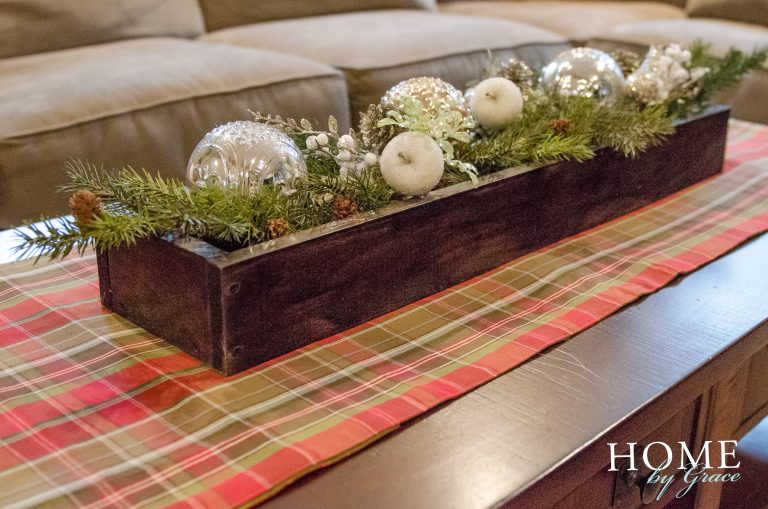
For Christmas, I filled it with greenery, a few sparkly stems from Michaels, and mercury glass ornaments.

Currently, I have dried boxwood clippings leftover from Christmas, pinecones, and a few white vintage ornaments I keep out year-round. I’m looking forward to brainstorming for the next season or whenever I feel like it needs a change. 🙂

Sorry, the comment form is closed at this time.